Preface
This page is transplanted from a former wiki page. As for today, there are still a considerable amount of visits to that (abandoned) wiki page, hopefully this Github page will serve those visitors well as an update-to-date mini tutorial on how to make images for publication using VMD. Basically, this will be achieved by using Tachyon rendering, but I will also introduce tricks to sometimes skip the costly Tachyon rendering while achieving good enough images.
After 7 years, I would definitely say that I am still an active learner on rendering good images for biomolecules. Again, feel free to contact me through Github about your thoughts on this page. Any discussion will be greatly appreciated.
–Kevin 21:41, 4 May 2021 (HKT)
I am also attending the journey of learning to render good images. So currently I could only provide you some useful links and my way of rendering. Please feel free to come to discuss with me or edit this page if you have a better way out. –Kevin 19:41, 14 May 2014 (HKT)
Before you start
There are some very useful (but also limited) resources online to get yourself ready for the upcoming tedious artworks:
- Official VMD website on Tachyon Rendering Here
- “Rendering with Tachyon: a practical guide” by Aksimentiev Group @UIUC PDF Here
- Some mailing list discussion: 1, 2
- John’s webpage and guide on Tachyon Here PDF Here
The quick and dirty way
None likes long manuals, so I provide you here the easiest way to go:
- (Optional) Change the background to white.
Graphics > Color > Categories:Display > Names:Background > 8 white - (Optional)
Display > Orthographic - (Optional)
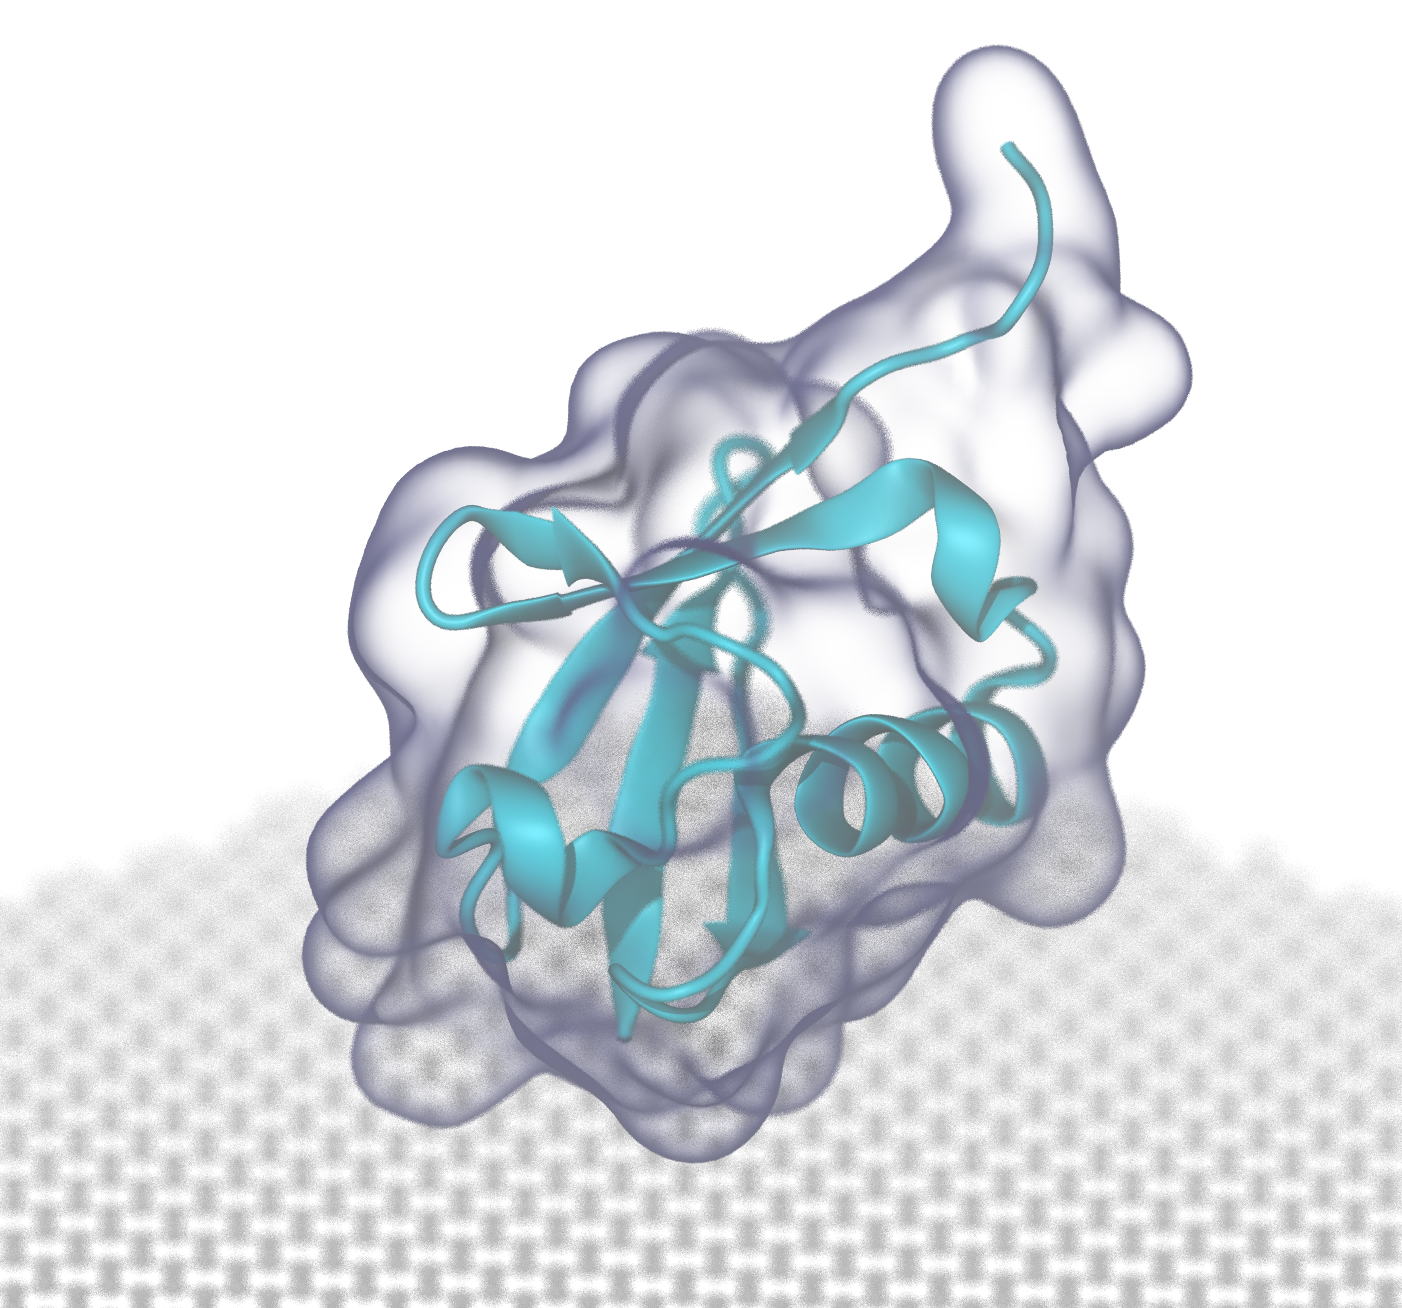
Display > Axes > Off Display > uncheck Light 1Display > Display Settings > Amb. Occl. > OnDisplay > Display Settings > AO Ambient > 0.5Display > Display Settings > AO Direct > 0.5Graphics > Representations > Material > AOShinyFile > Render > using Tachyon (internal, in-memory rendering) > Browse /where/you/want/to/put/the/images > Start Rendering
Hola, you might have already got an image a little bit better than the by default Snapshot rendering. Note that the real trick here is (1) turning on Amb. Occl. in Display Settings and (2) changing the Material of your molecules to AOShiny. These steps are essential for a proper Tachyon rendering. In the following sections, we will discuss in details what parameters are available in VMD for Tachyon rendering.
A good habit to work on is enlarging the molecules using Display > Display Settings > Screen Hgt instead of the middle bottom of your mouse. You can always use the “=” key to reset the screen.
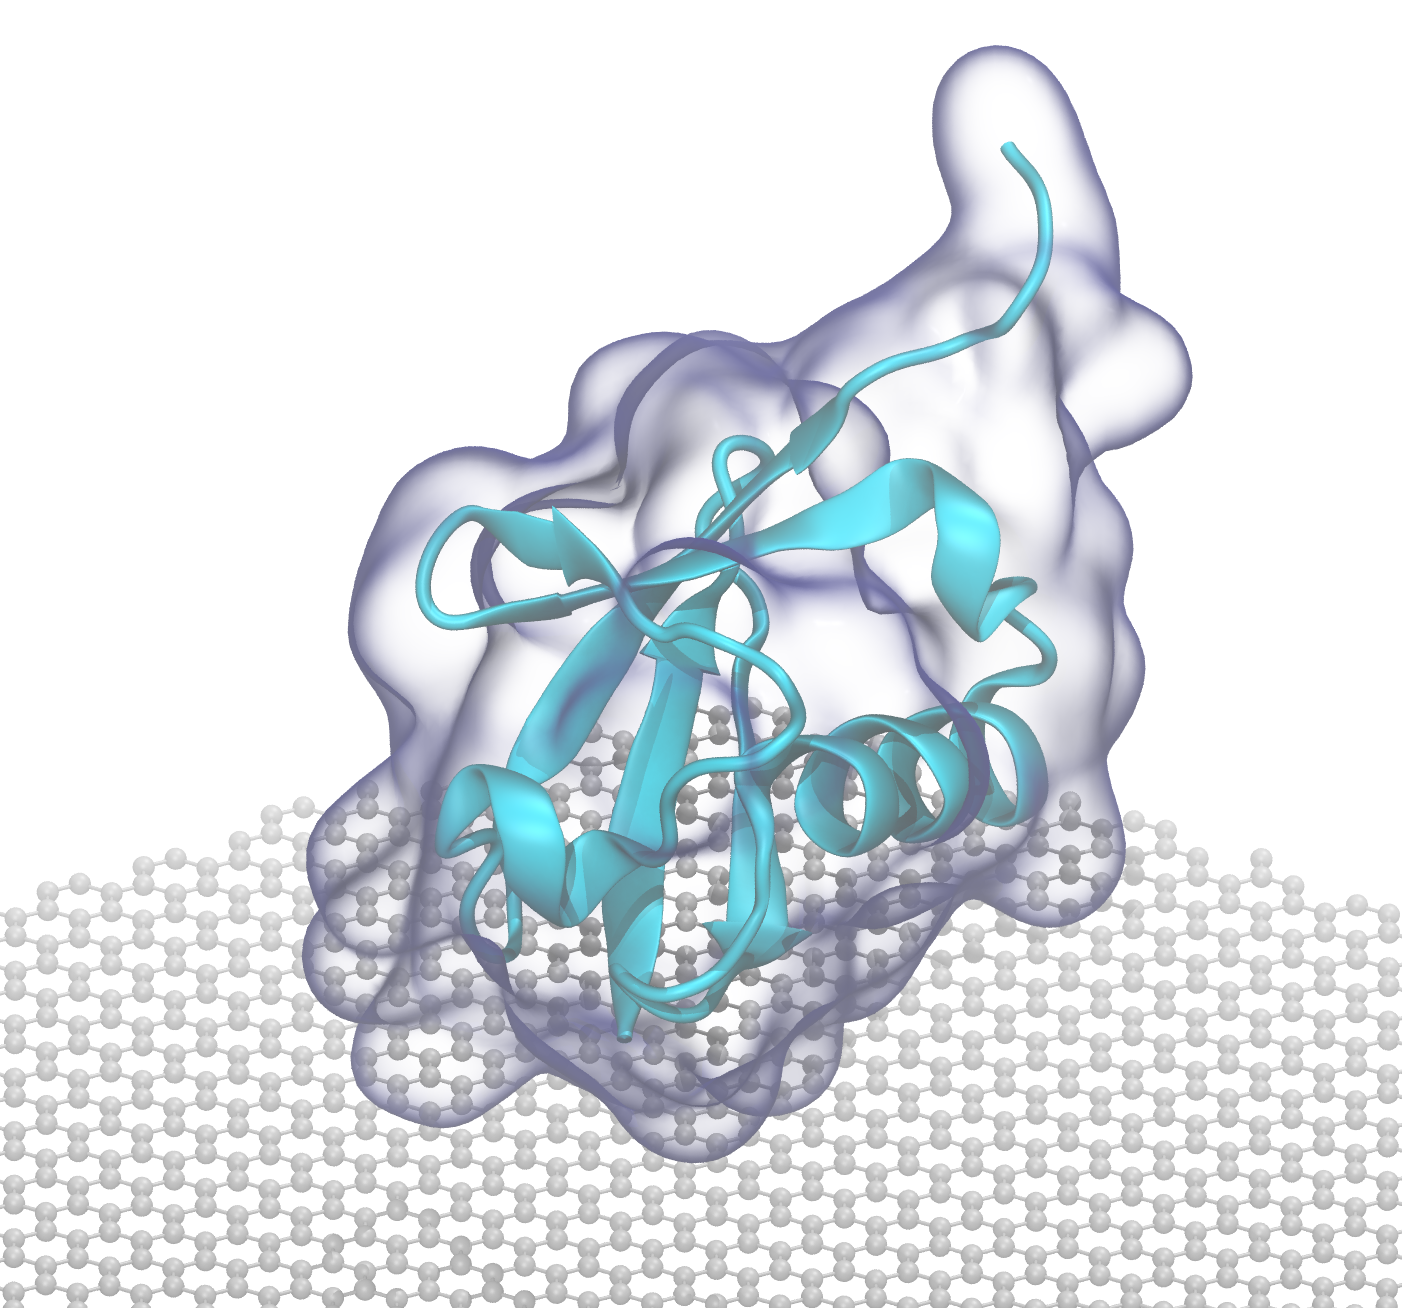
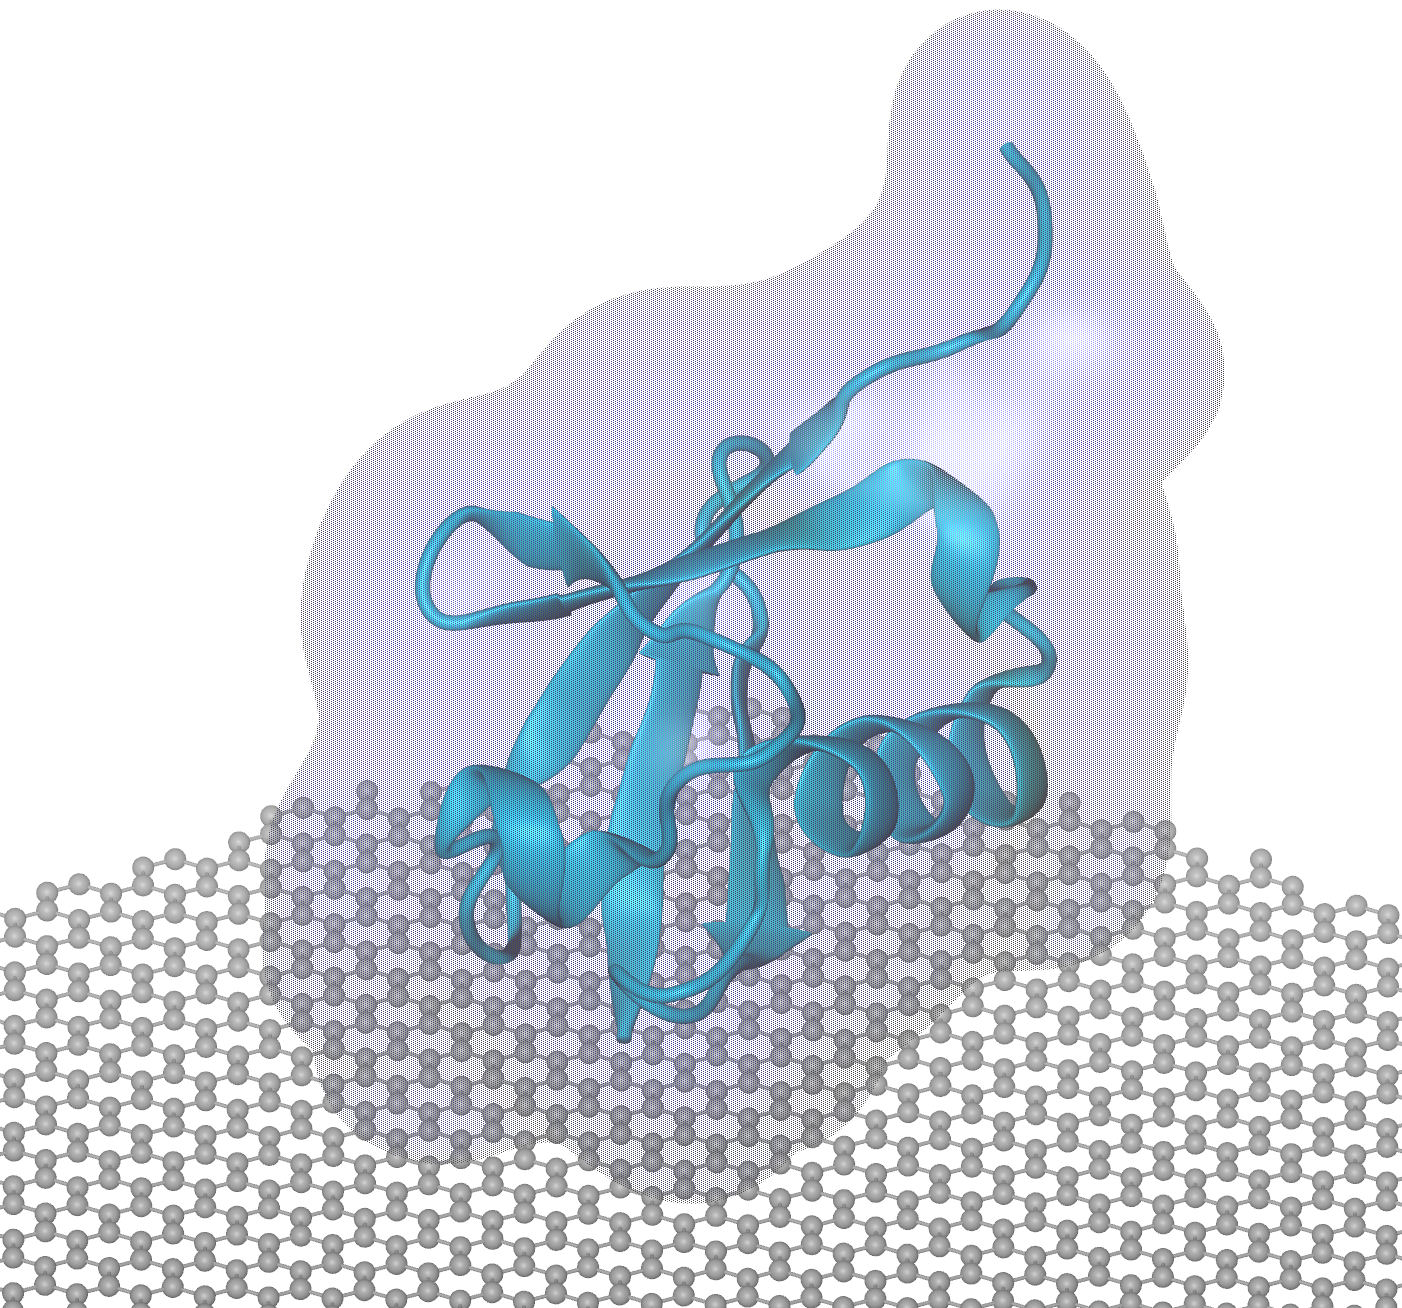
Some additonal steps especially for rendering images involving transparent molecules are introduced here:
Graphics > Representations > Drawing Method > QuickSurfGraphics > Representations > Material > BlownGlassDisplay > Rendermode > GLSLFile > Render > using Snapshot > Browse /where/you/want/to/put/the/images > Start Rendering
I found that BlownGlass under GLSL looks pretty nice so one can easily skip the Tachyon rendering, which is especially costly when dealing with transparent surfaces, and directly producing images with cheap Snapshots.

Snapshot+GLSL (left) Tachyon (right)
I bet you can hardly tell the difference between two :)
Advanced
There are many more parameters on Tachyon rendering that you can tune in VMD. To only list a few, I will also try to integrate them with some actual examples.
Ambient Occlusion / Amb. Occl. / AO
Display > Display Settings > Amb. Occl. > On
Display > Display Settings > AO Ambient > 0.5
Display > Display Settings > AO Direct > 0.5
It turns that that the material chosen affects the final visual effect the most. As AO rendering is highly recommended, a material that is fairly diffuse such as “Diffuse”, or the AO-optimized “AOshiny”, “AOChalky”, or “AOEdgy” materials should be used.
Ambient occlusion lighting can be enabled by Display > Display Settings > Amb. Occl. > On. Once ambient occlusion lighting was enabled, the effect can be adjusted by altering the “AO Ambient” and “AO Direct” coefficients, which scale the lighting contribution from the ambient light, and from the standard VMD lights, respectively. In most cases, an ambient light coefficient ranging from 0.7 to 1.0 and a direct lighting coefficient of 0.1 to 0.4 are most appropriate and yield the best results. A rule of thumb that tends to work well is that the sum of the two lighting coefficients should be near to 1.0. Personally, I would suggest to adjust from 0.5+0.5. Here are some examples:


Ambient 0.5 + Direct 0.5 (left) Ambient 0.8 + Direct 0.5 (middle) Ambient 0.5 + Direct 0.8 (right)
Ambient 0.3 + Direct 0.3 (left) Ambient 0.8 + Direct 0.8 (right)
Shining lights into your system
Display > check/uncheck Light 0-3

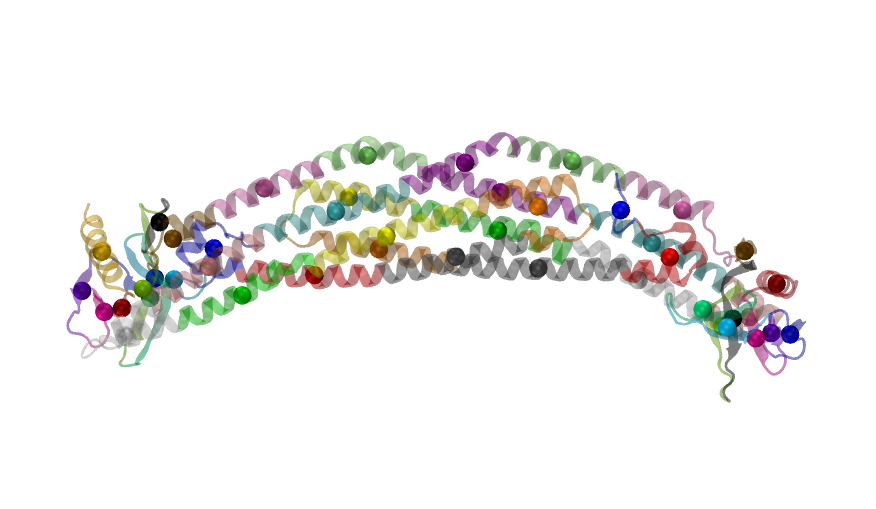
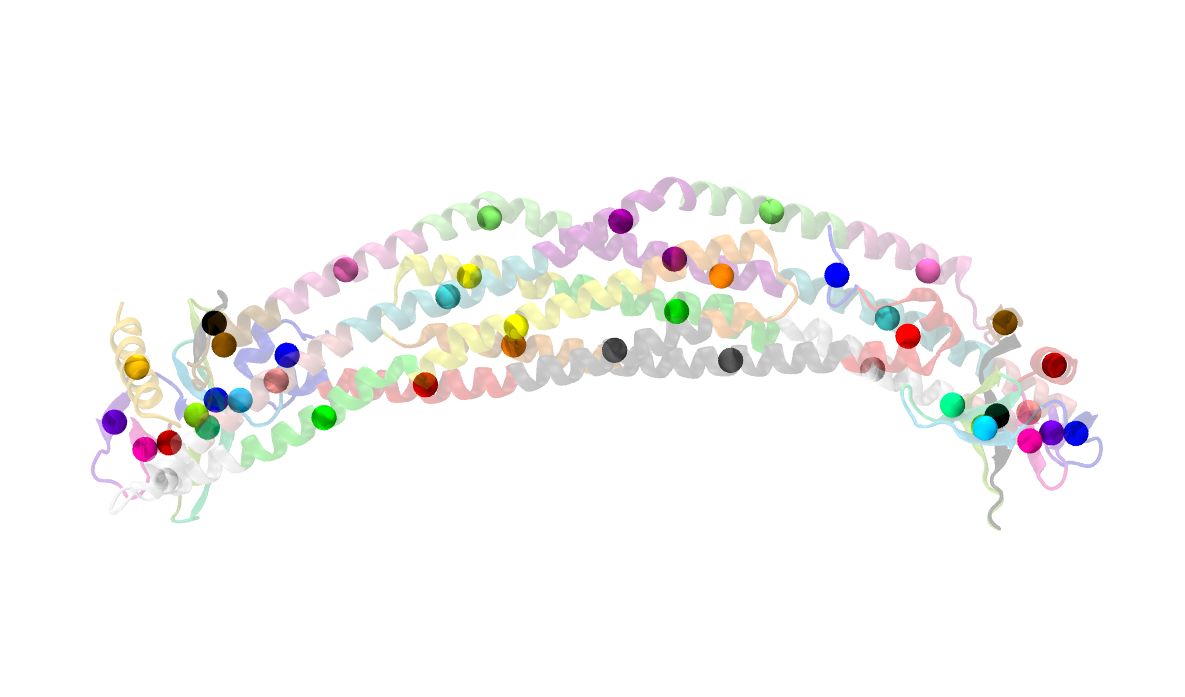
Light 0 On (left) Light 0-1 On (middle) Light 0-2 On (right)
I simply gave some simple options in order to have the following images:
- -res 4096 2048
- Display > Background > Gradient
- Shadows ON, Amb. Occl. ON
So we could focus on adjusting AO Ambient and AO Direct.
Basically the rules are:
- In most of the time just stick to the default value: 0.8 0.3
- Well I do not know why the default values do not add up to have 1.0 but anyway it works fine for most cases.
- If you think it is too dark, increase AO Direct by 0.1, e.g. 0.8 0.4.
- If you think it is a little bit too bright after that, decrease AO Ambient by 0.2, e.g. 0.6 0.4.

0.8+0.3 (left) 0.8+0.4 (middle) 0.6+0.4 (right)
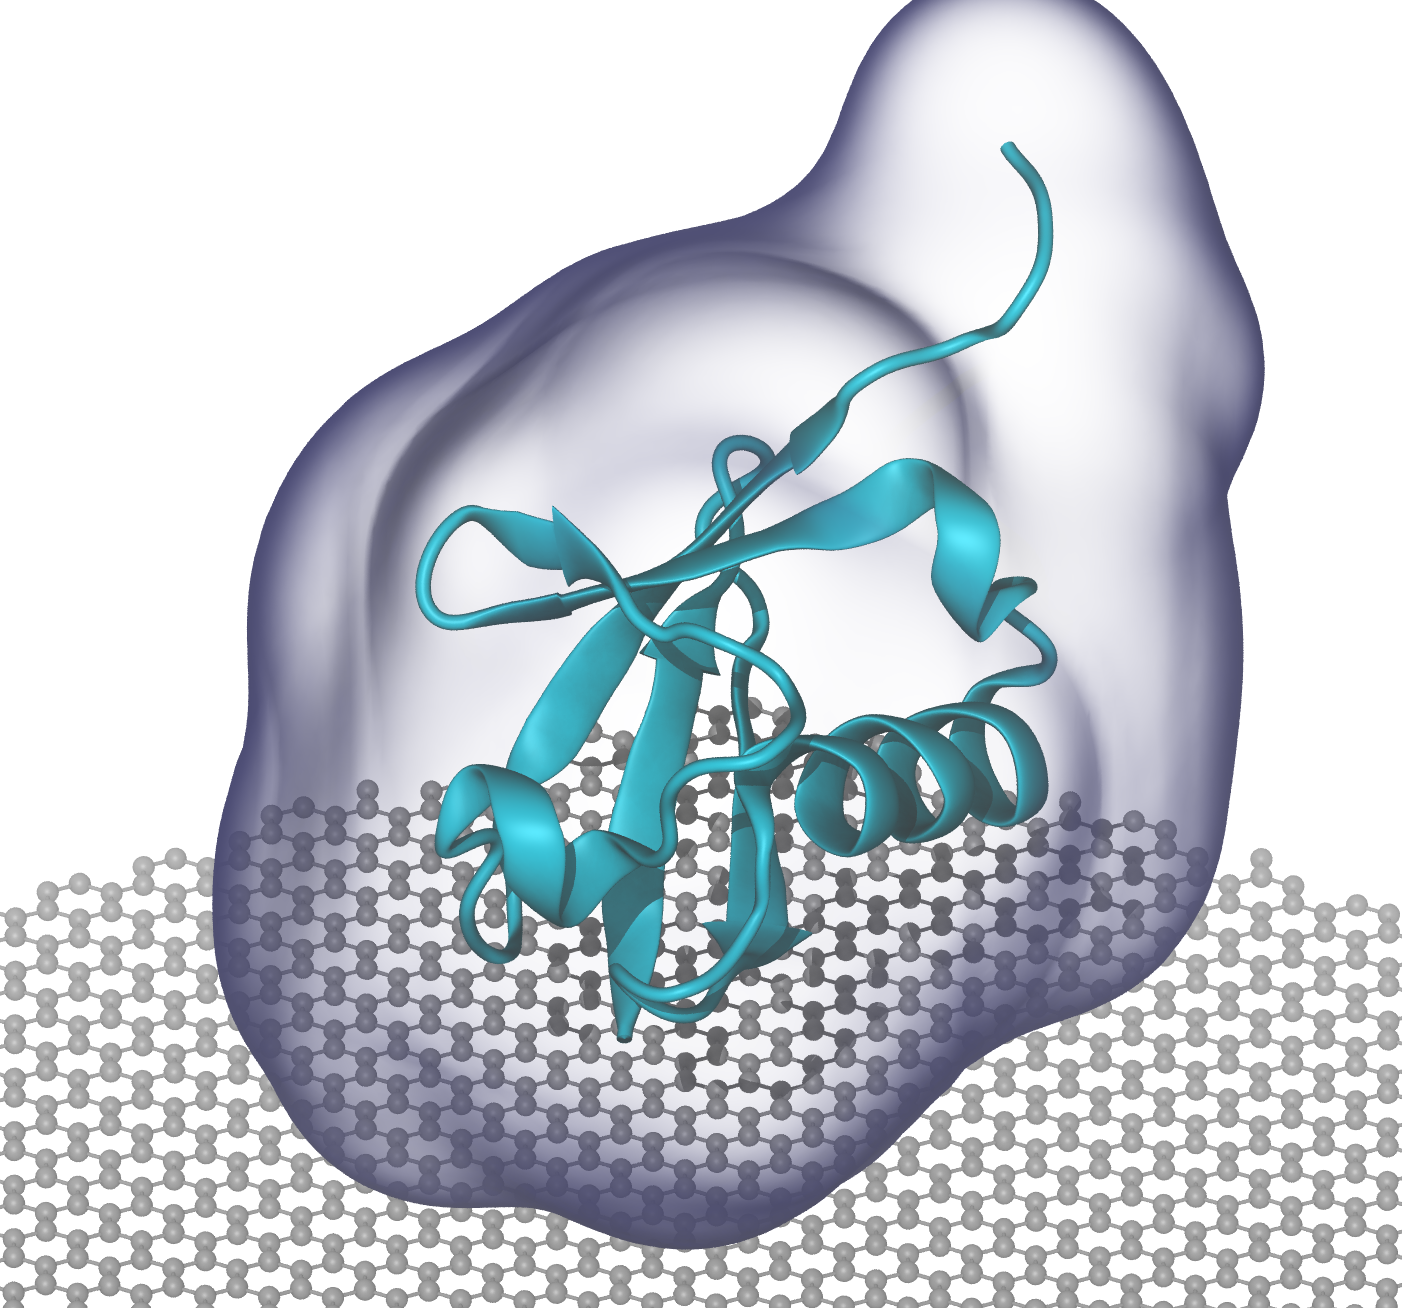
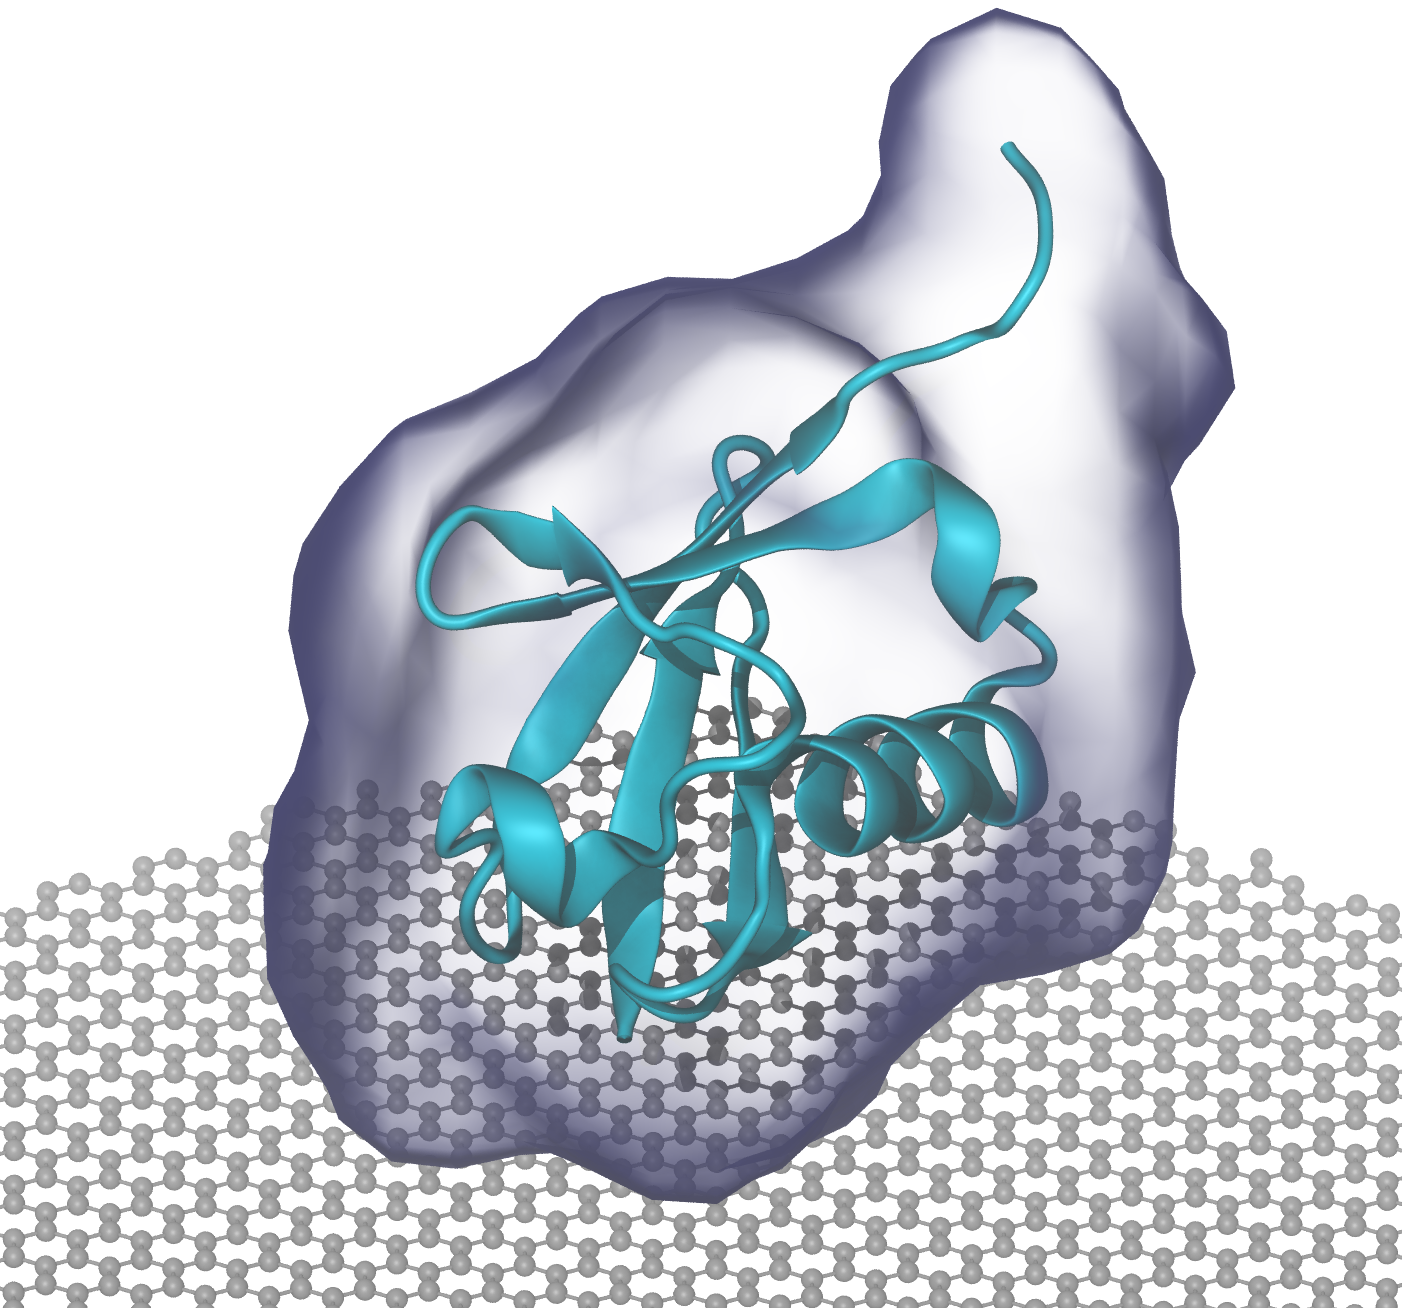
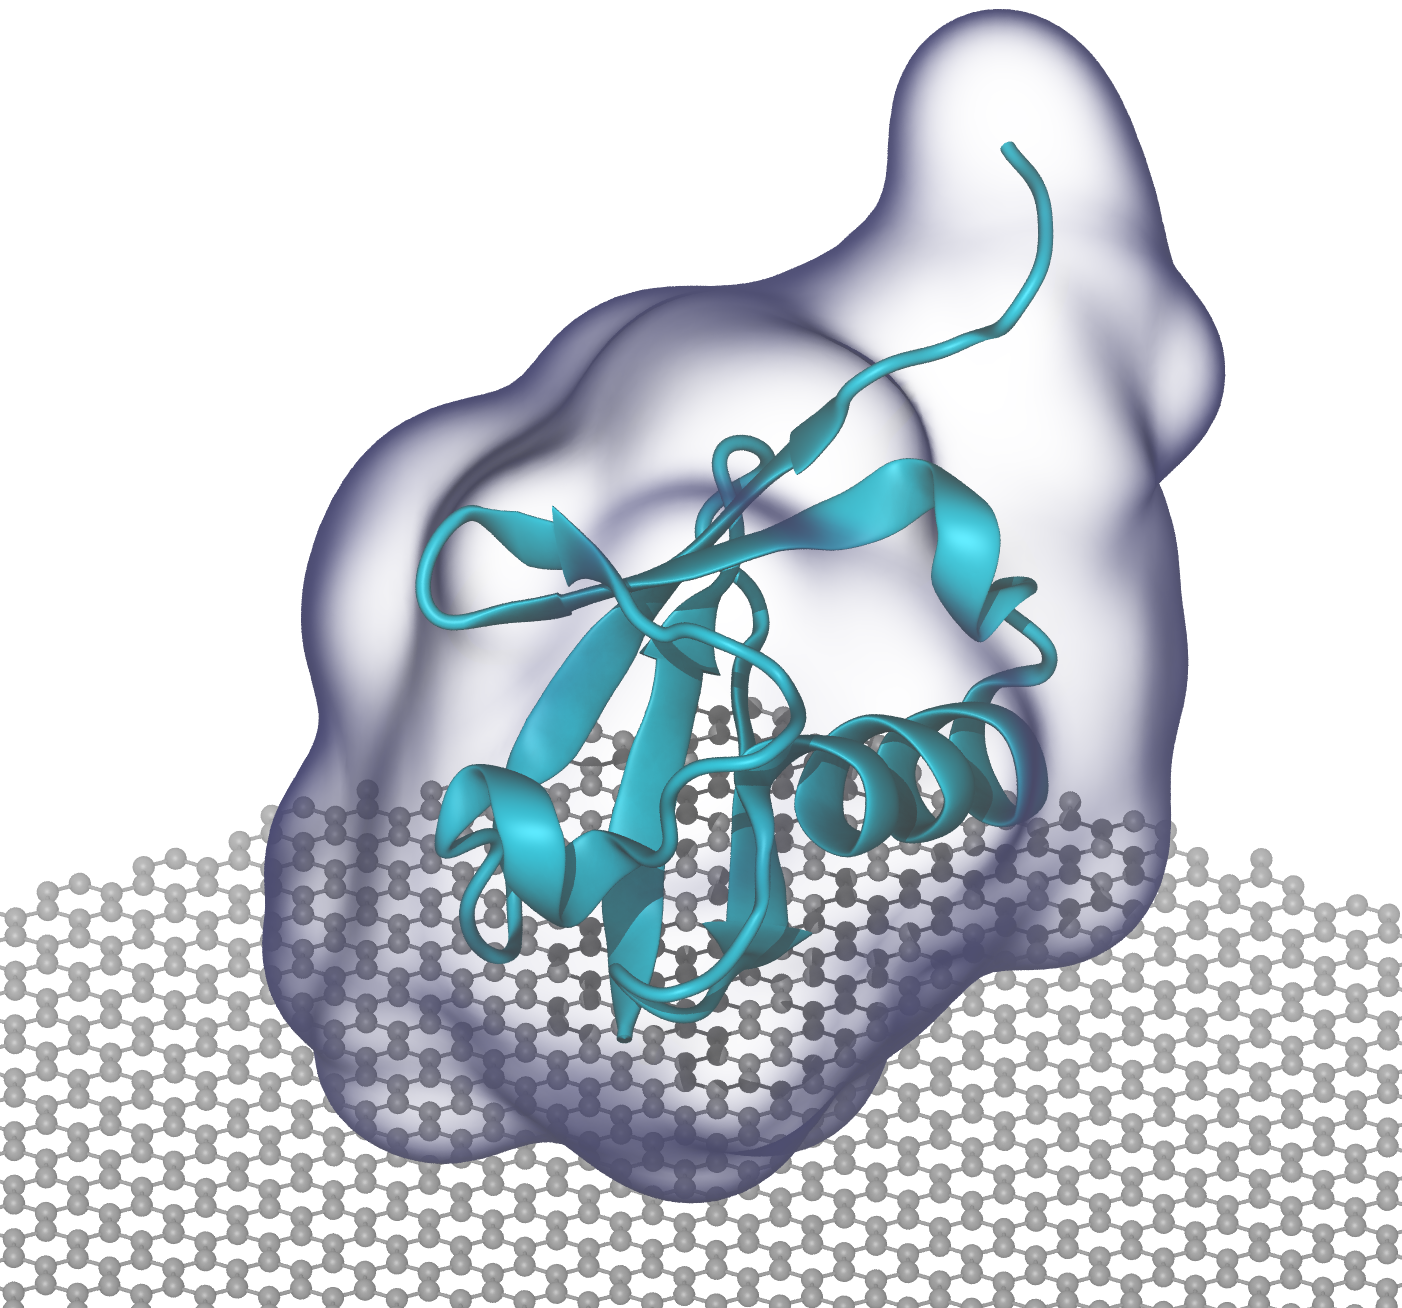
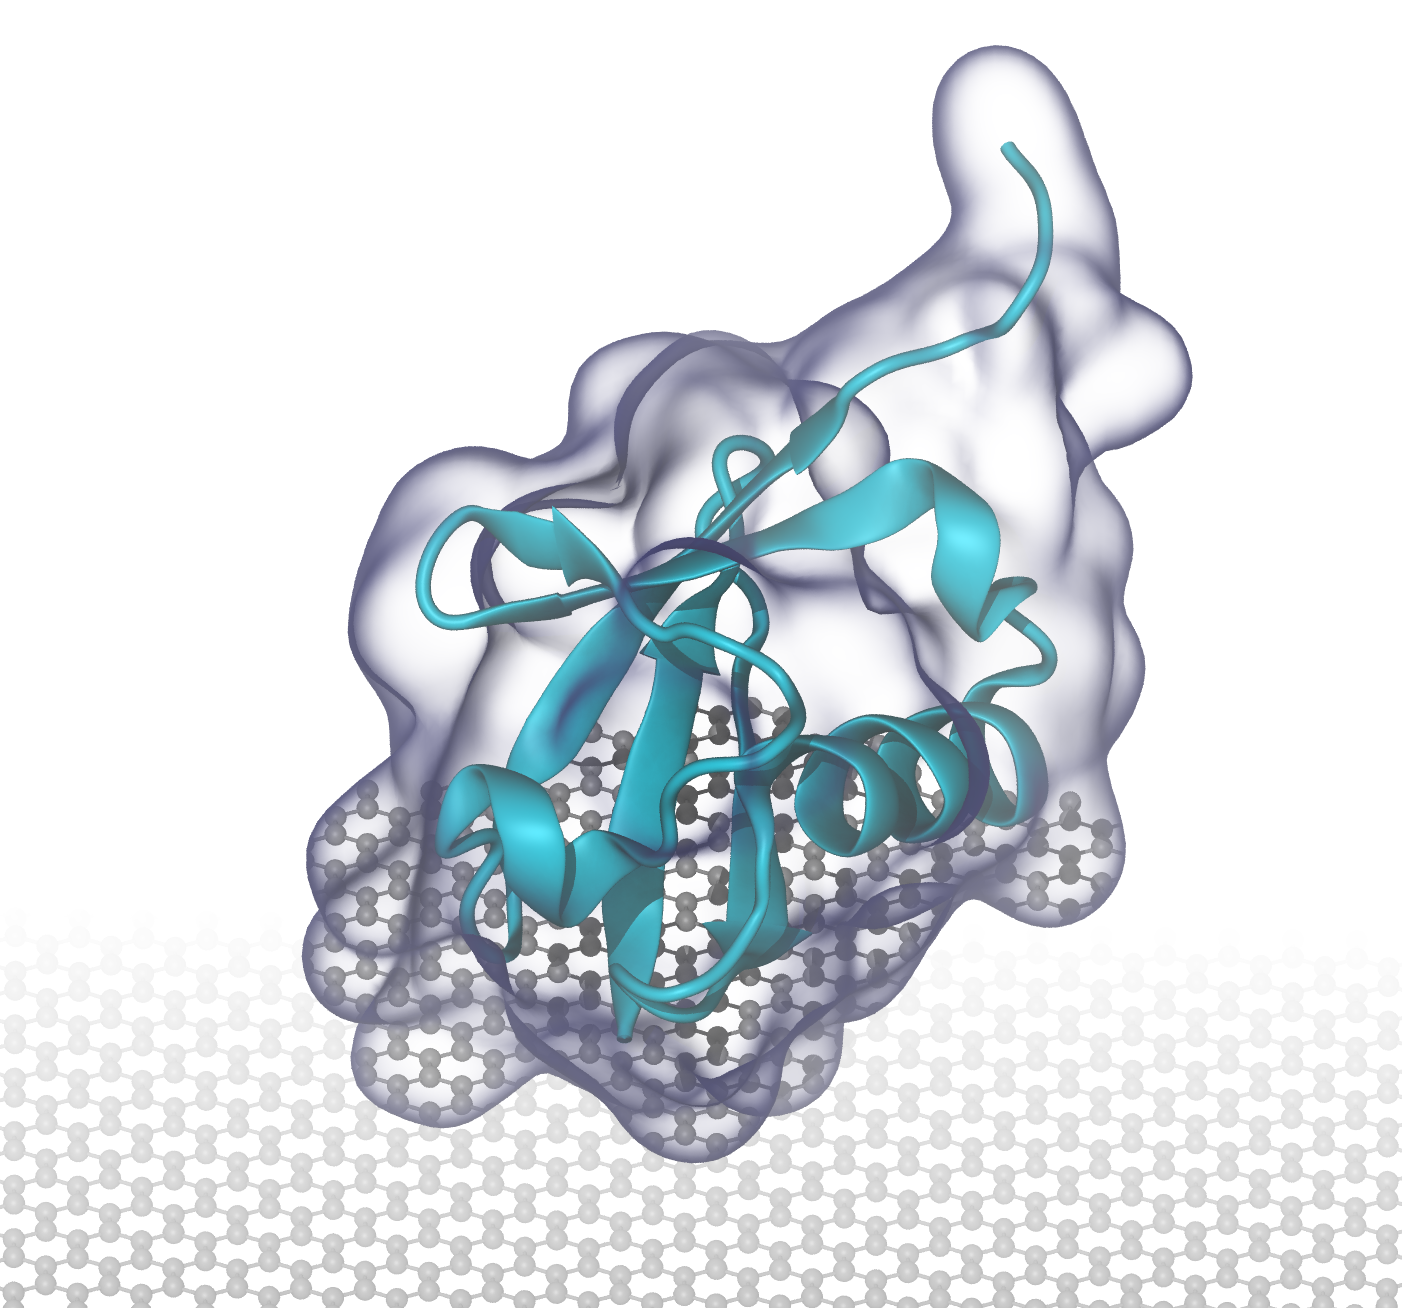
Transparency
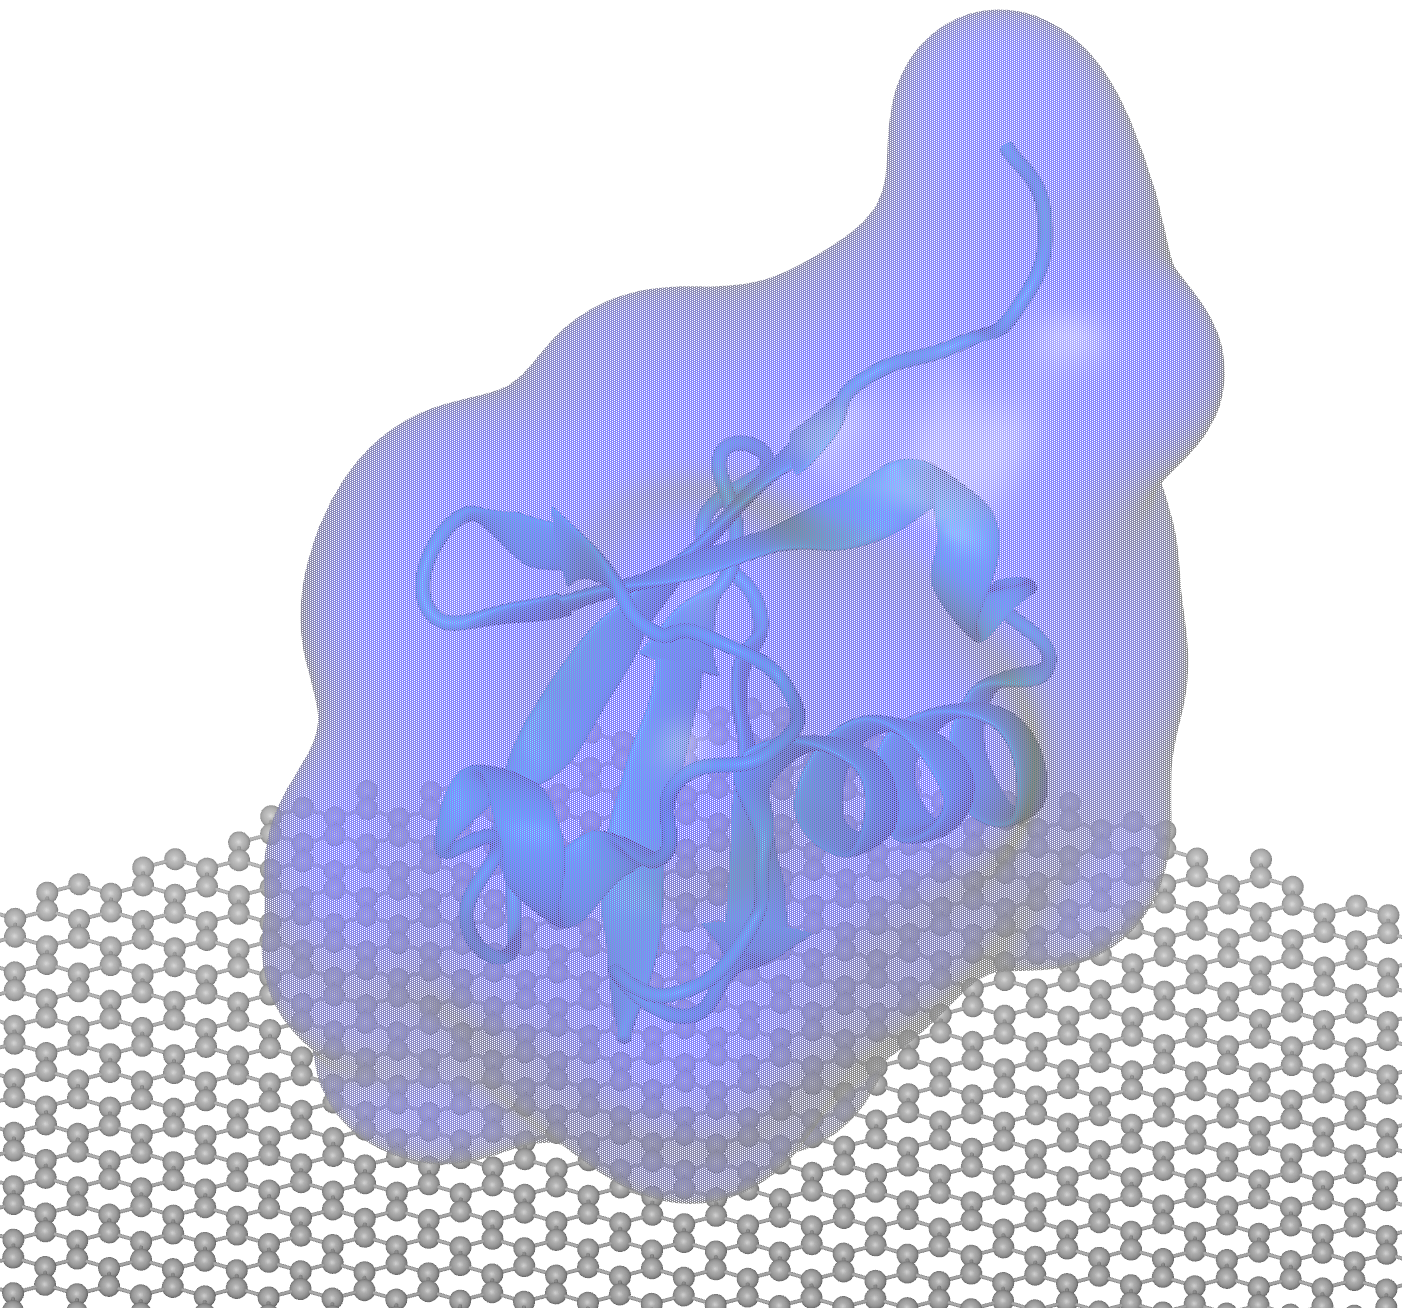
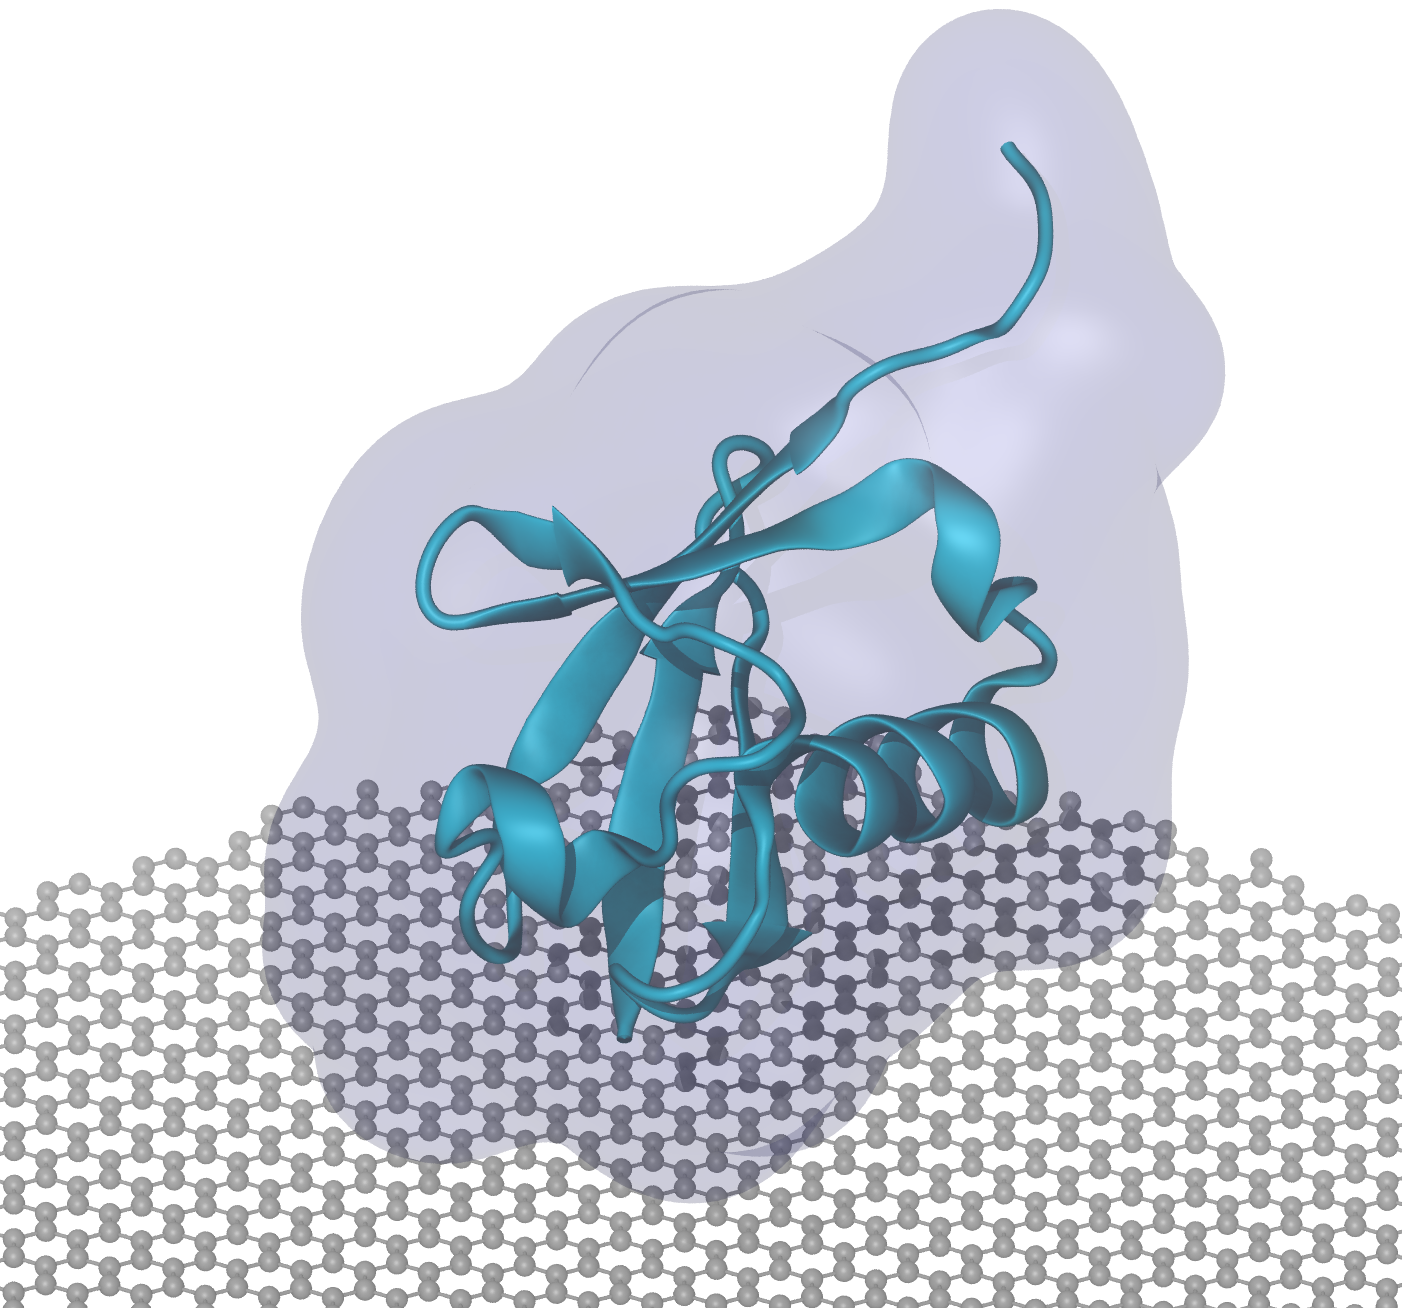
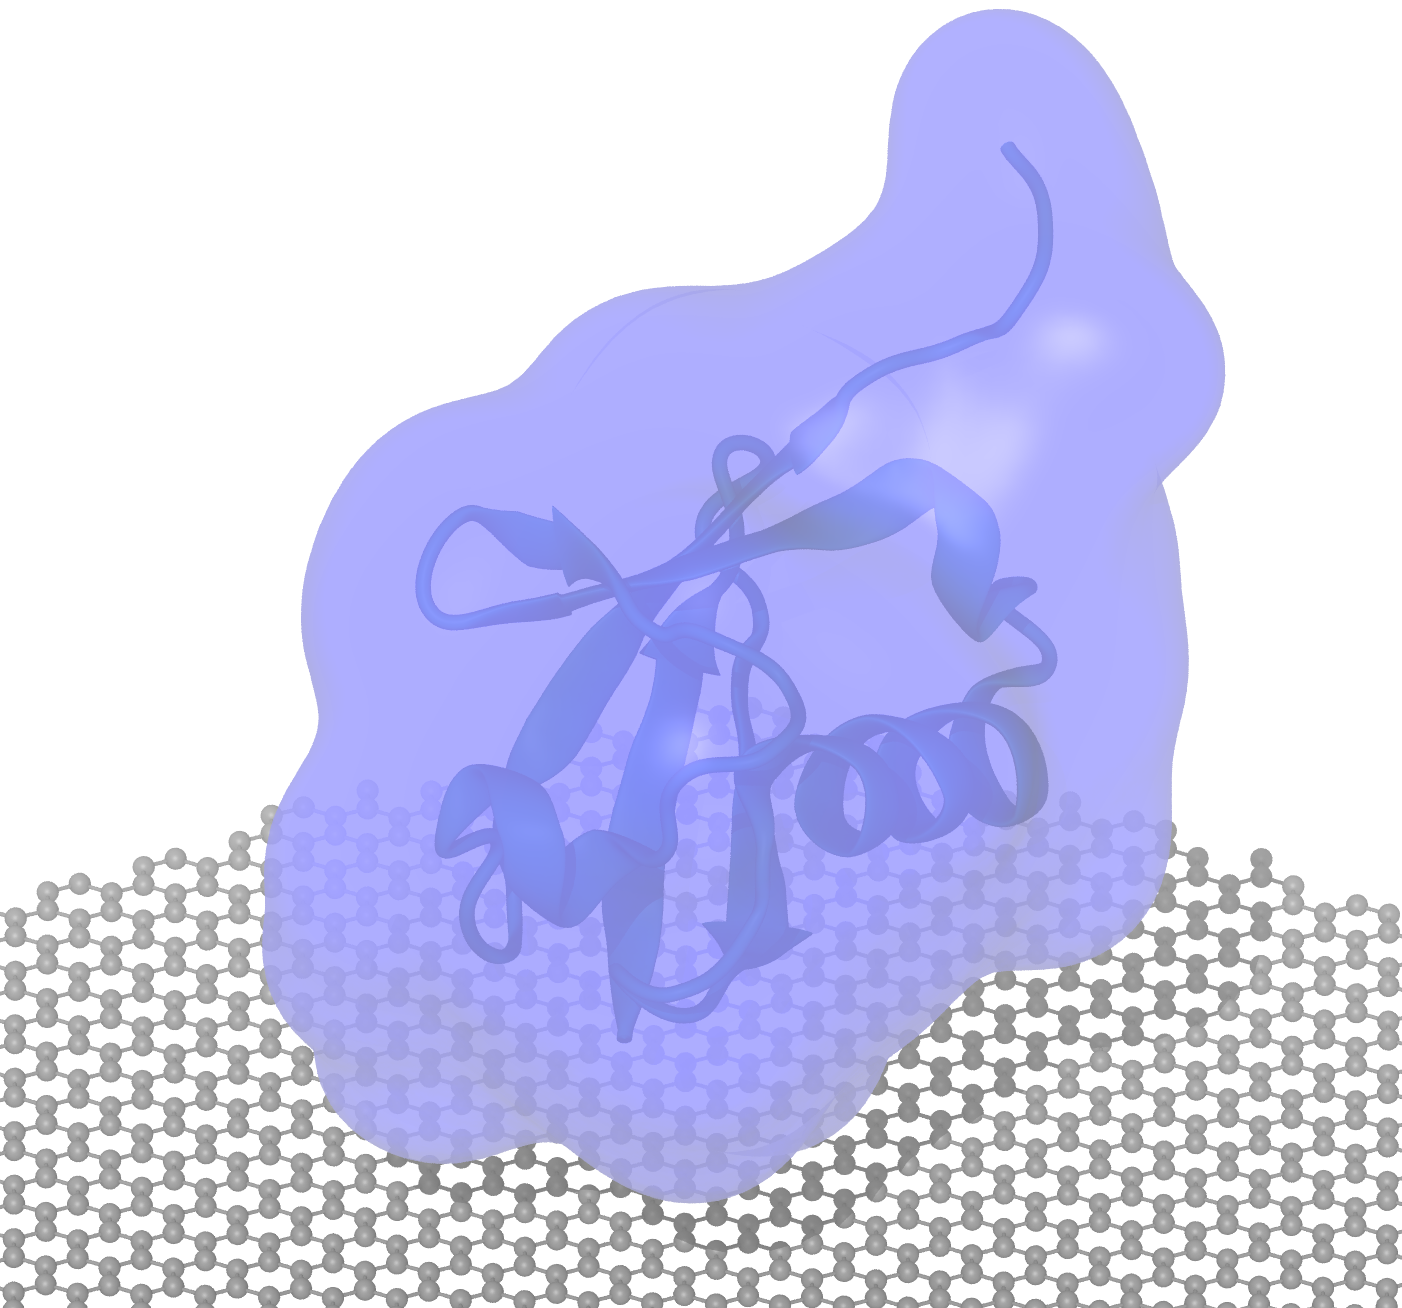
A nice-looking transparent surface is the main reason for Tachyon rendering as it focuses on how lights penetrate different materials. Here are some images comparing Snapshots and Tachyon rendering of the same materials:
![]()
Snapshot: Glass 1 (left) Glass 2 (middle) Transparent (right)
![]()
Tachyon: Glass 1 (left) Glass 2 (middle) Transparent (right)
You can see that the Tachyon images are different but not essentially better. But the materials BrownGlass and GlassBubble are what make things different. Usually you would like to emphasize some colors so I highly recommend BrownGlass.
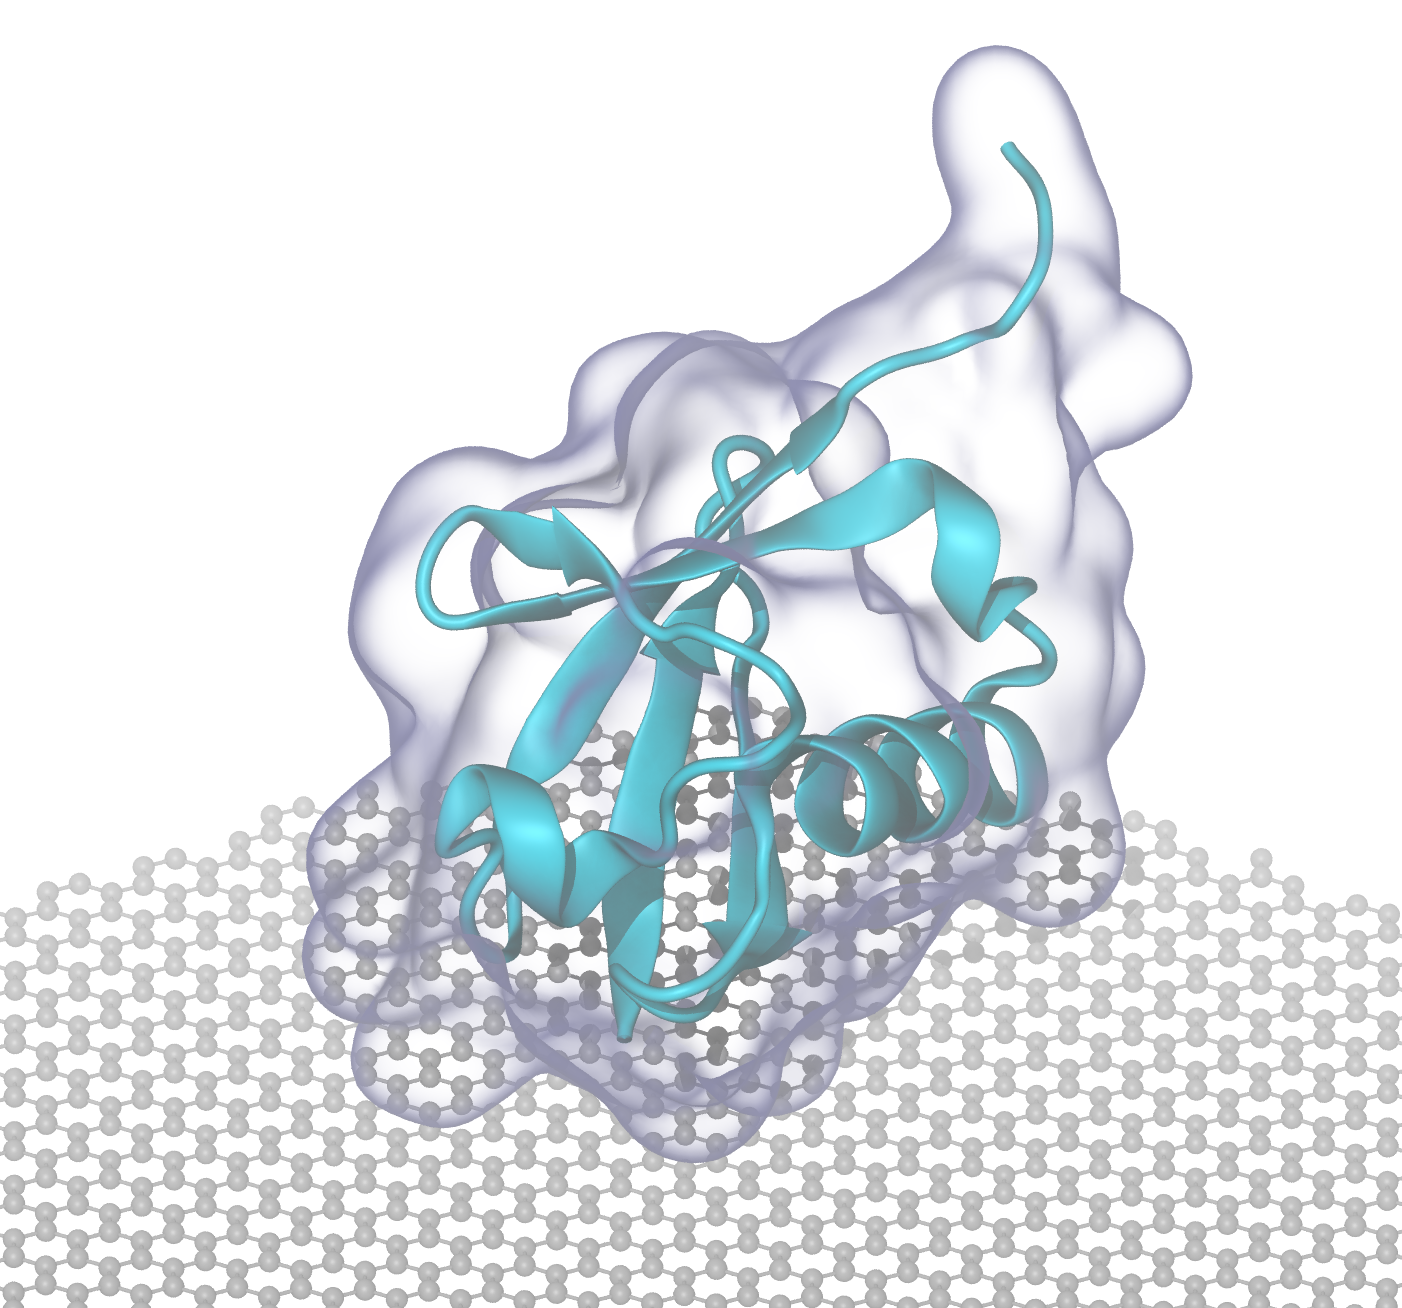
BrownGlass (left) GlassBubble (right)
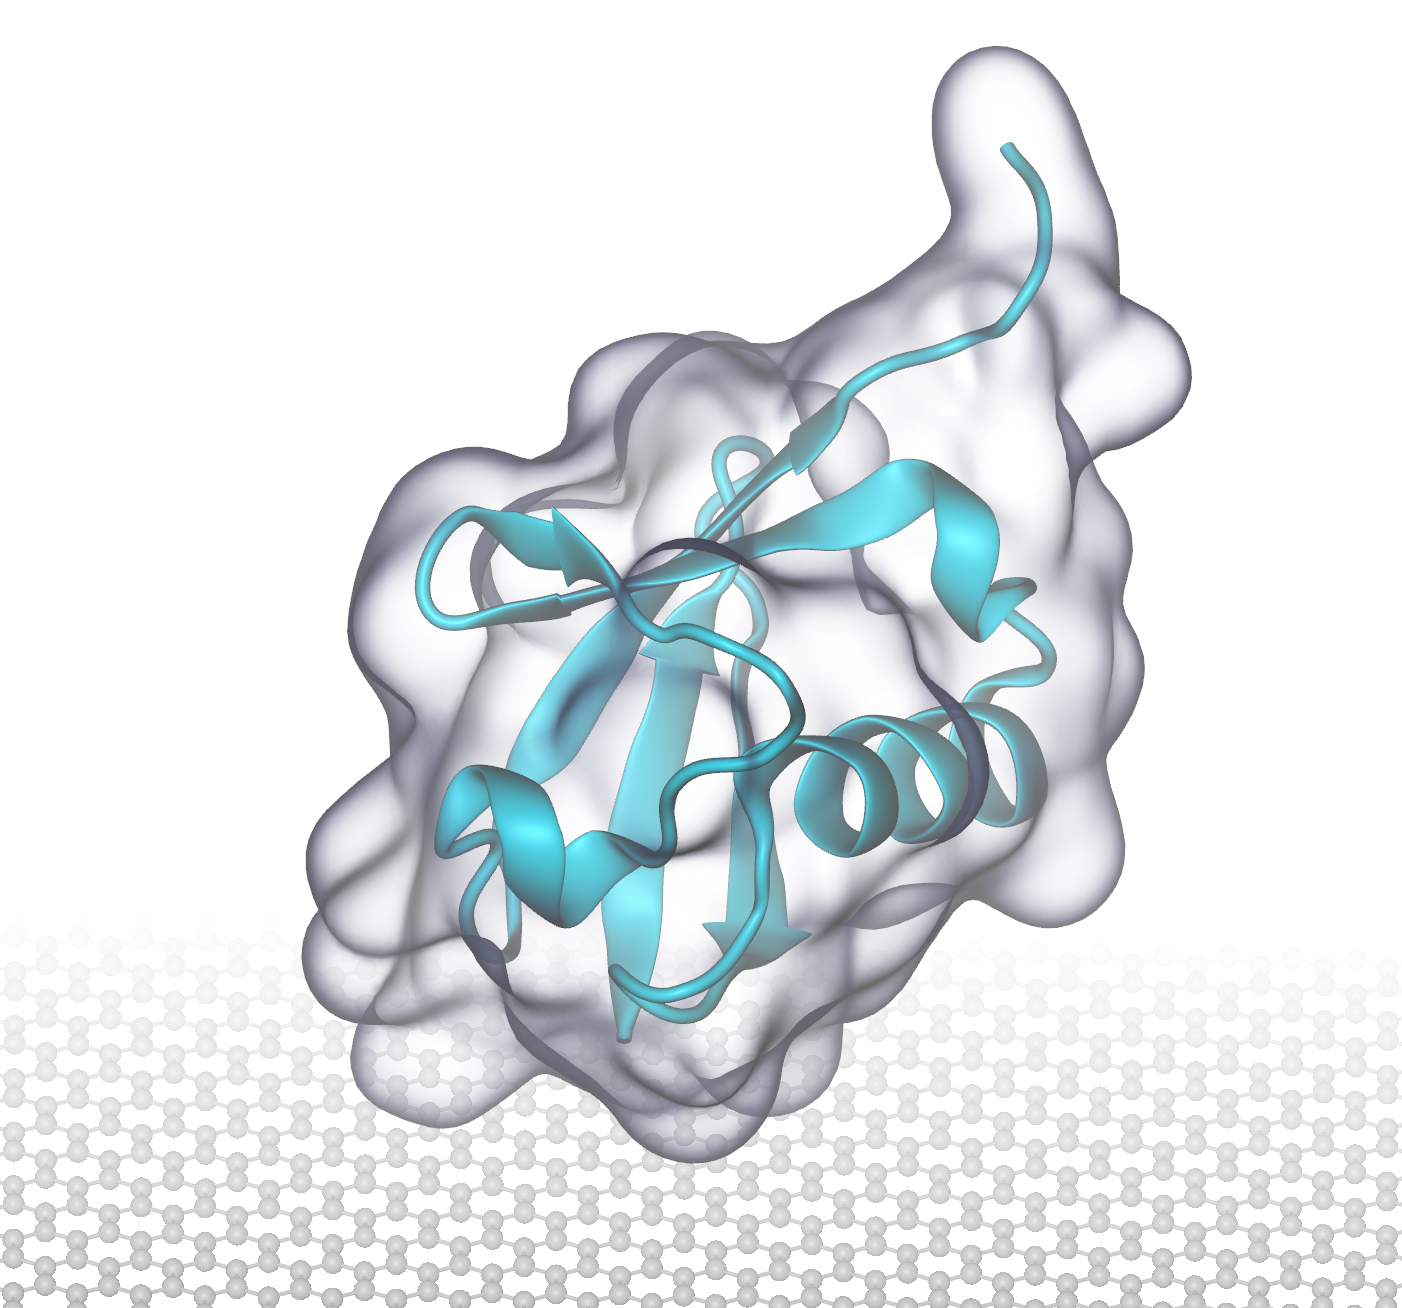
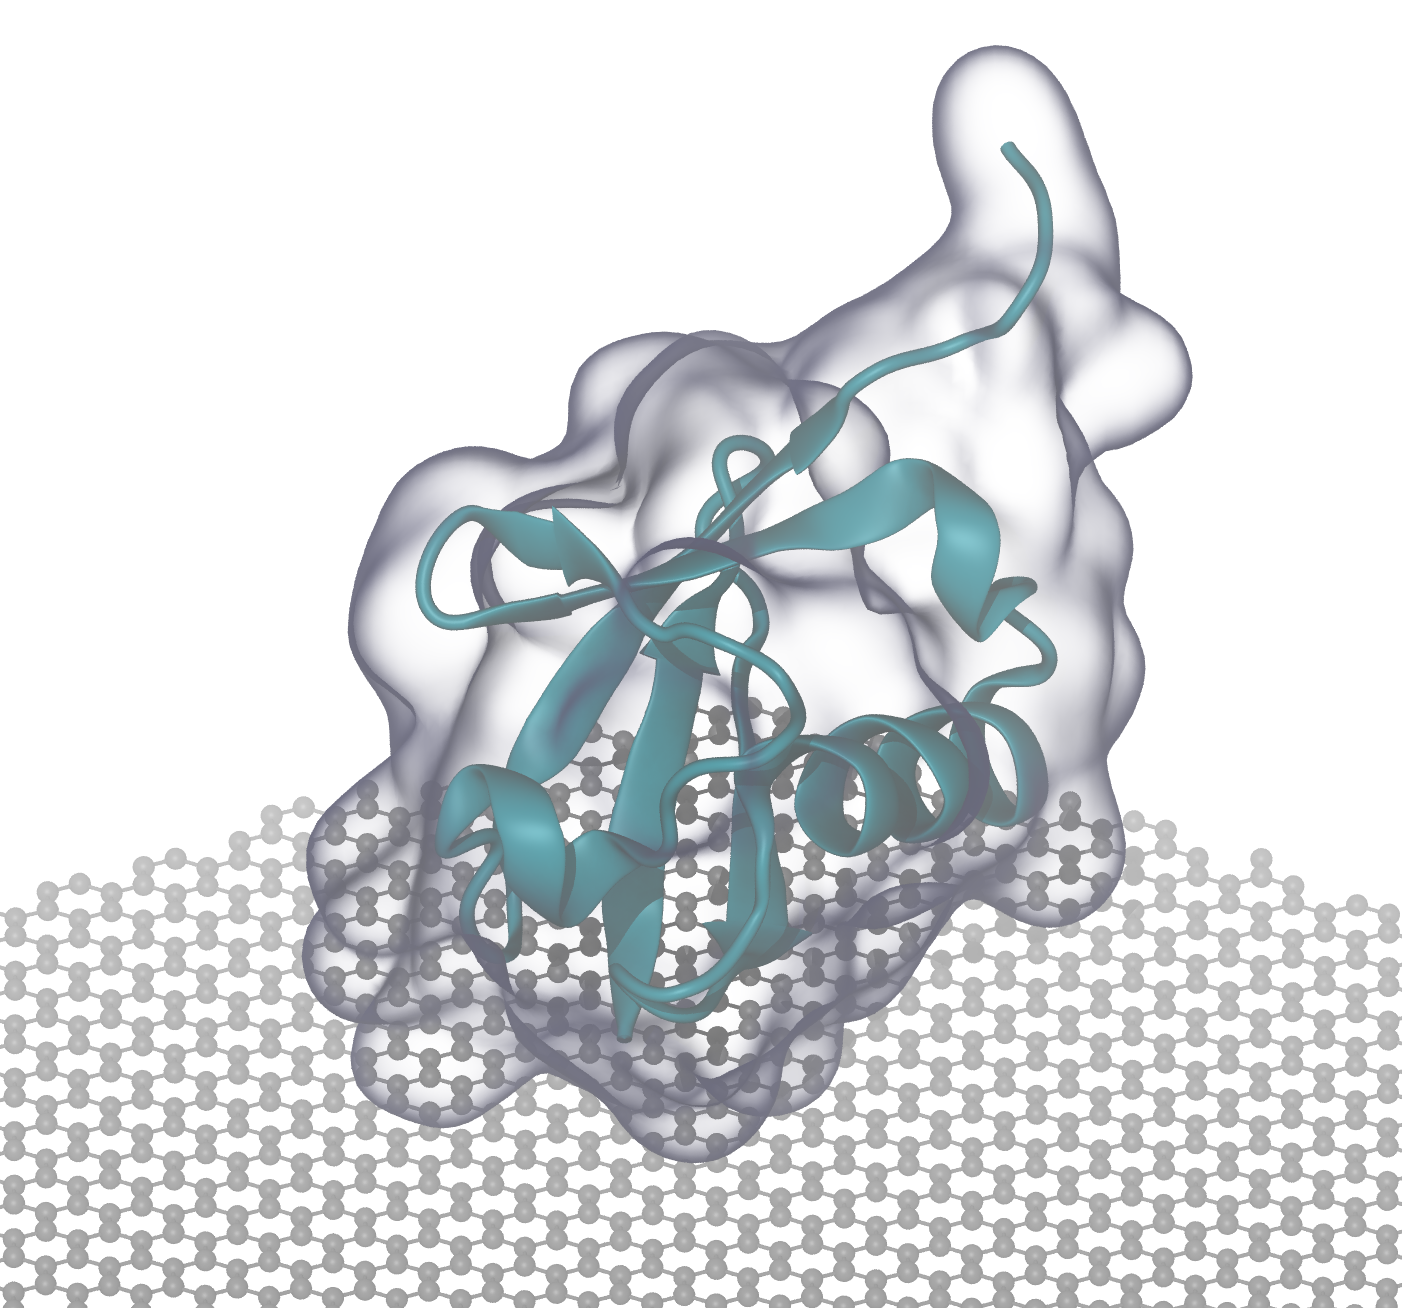
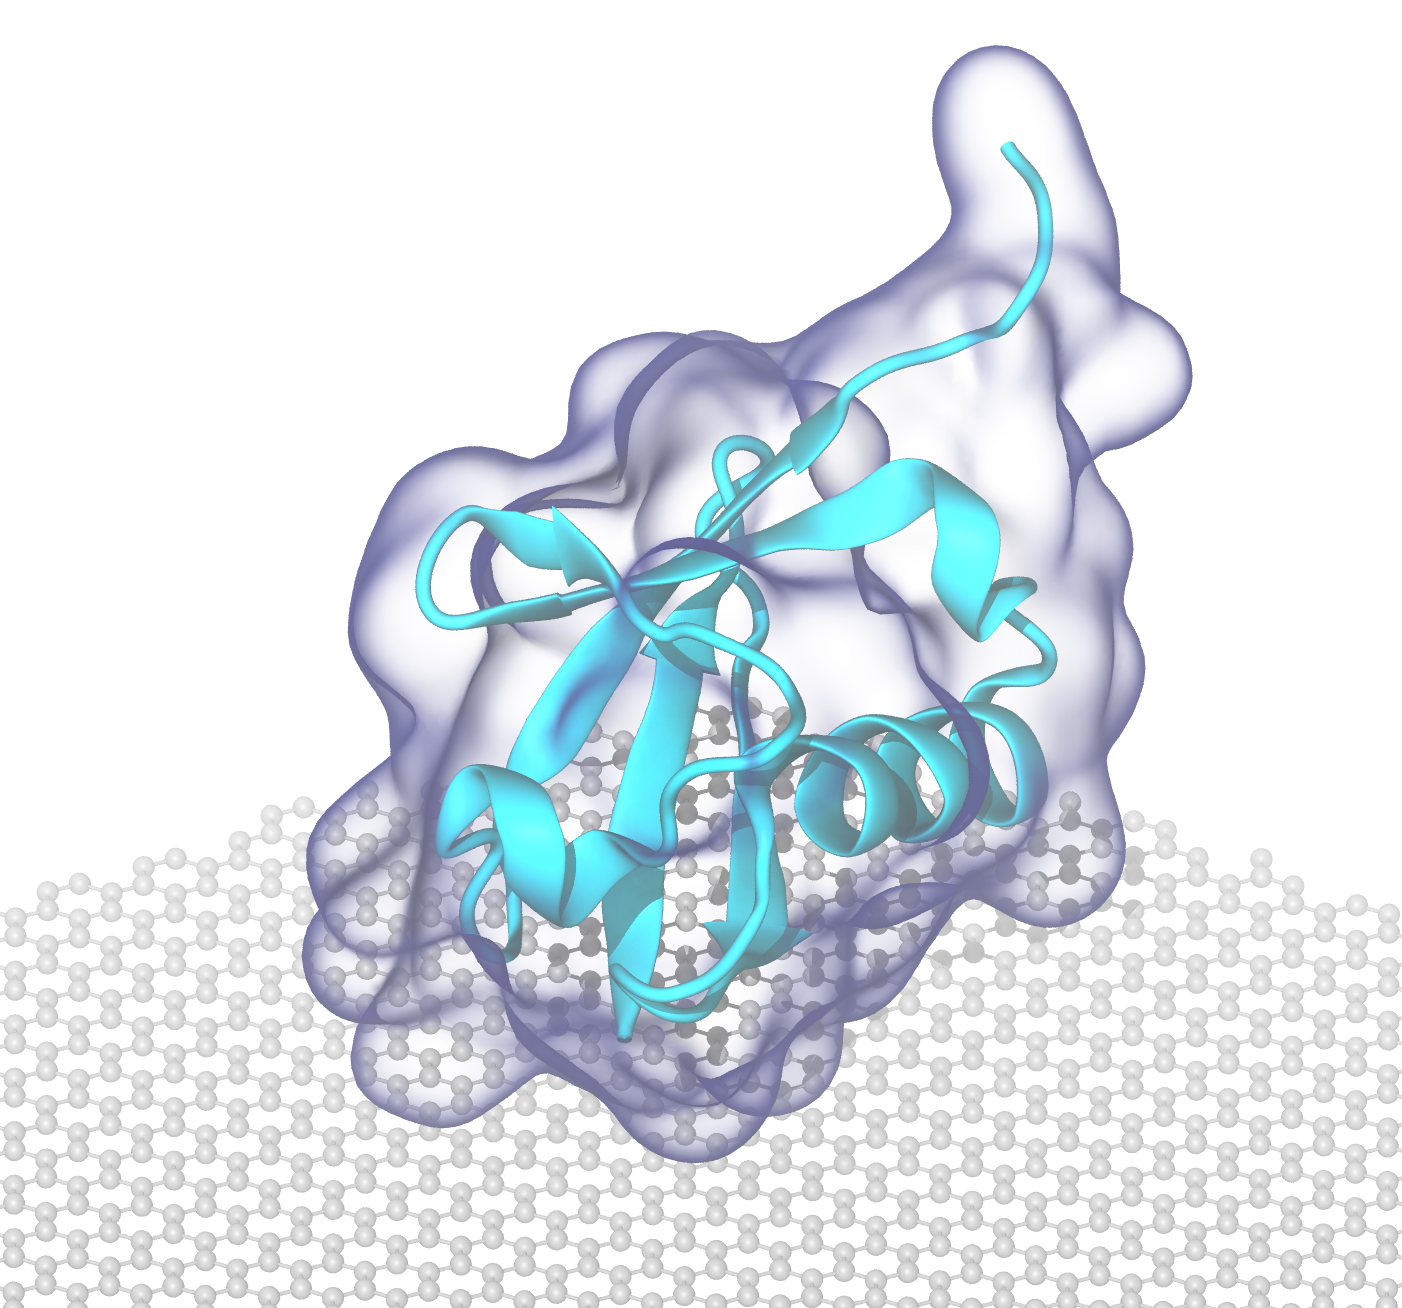
QuickSurf
The very popular Drawing Method QuickSurf has some advantages over the conventional Surf and MSMS. It is much quicker (less costly) than Surf and does not require another software like MSMS. There are three parameters for QuickSurf: Radius Scale, Density Isovalue and Grid Spacing. A rule of thumb will be to start with
Radius Scale: 1.5Density Isovalue: 1.5Grid Spacing: 0.5
Grid Spacing=0.5 gives the most dramatic effect in quality as it increases the number of grids, i.e. higher resolution. The rest two parameters govern the size of the volume. I personally recommend adjusting Radius Scale because it is more straightforward, but also be aware that a large Radius Scale will easily crash VMD without any warning.

Radius 1.0 (left) Radius 1.5 (middle) Radius 2.0 (right)
Grid 0.5 (left) Grid 2.5 (right)
Interestingly, Surface Quality is something I found relatively less obvious on transparent surfaces.
Quality Max (left) Quality Low (middle) Quality Low (right)
Depth Cueing
Tachyon rendering is problematic when cueing depths. If depth cueing is necessary, I would recommend GLSL+Snapshot (as introduced above) instead.
Tachyon (left) GLSL+Snapshot (right)
Display > Display Settings > DoF > On
Depth of Focus (DoF) is an interesting effect. If you are familiar with cameras you should definitely try this out. DoF Foc. Dist should be close to Screen Hgt.
Archive
Followings were steps of rendering:
- Load VMD state of the Molecule.
- Go to File -> Render -> Tachyon
- Use “tmp.dat” for Filename in the render window
- Modify Render Command in the render window as follows:
- Windows: “C:\Program Files (x86)\University of Illinois\VMD\tachyon_WIN32.exe” tmp.dat -format BMP -o path/to/your/image.bmp
- Mac: “/Applications/VMD 1.9.1.app/Contents/vmd/tachyon_MACOSXX86” -aasamples 12 tmp.dat -format BMP -o path/to/your/image.bmp
- Start Rendering
N.B. In fact it is okay to select your image path using the Browse bottom and leave the %s in the Render Command line. However I just do not like the way it left me a dat file.
You should able to understand what has been done by VMD from the steps. Generally the VMD first renders the current scene to “test.dat” as a data file, then it uses the implemented program - “tachyon_WIN32.exe” or “tachyon_MACOSXX86” to read the data file and convert into a bmp. This is the trick from which we could make good images. Usually I use 2048x1024 which takes a little bit long time of rendering but provides more than enough resolution you need.
You may manually set the resolution with a desirable one by adding option: -res XXXX XXXX (e.g. -res 2048 1024).
Transparent surfaces
If you have transparent surface, add this option: -trans_max_surfaces [1 to 5], it seems 1 work better.
There are few notes to pay attention to:
- Any transparent surface would make the rendering hell slow (QuickSurf would make it even slower!), so be patient or get yourself a GPU-accelerated VMD. Soon you will note that you might need more than one rendering in order to try out the best AO Ambient and AO Direct so it definitely kills you when one single rendering could cost you up to 1 hour!
- trans_max_surfaces 1 is highly recommended for most of the cases that you want a transparent surface to show the shape but also seeing things inside it.
- AO Ambient 0.8, AO Direct 0.4 is recommended for trans_max_surfaces 1 after I have tried out nearly all the combination. However, it is still subjected to your own case, but if you are in a hurry, just stick to this.
- In order to use trans_max_surfaces 1, you have to stick to tachyon binary shipped with VMD. (So you are not able to output as PNG files again. Fine.) I have not yet found the way self-compiling the tachyon with the trans_max_surfaces option.
- You might also want to specify your draw material to be AOChalky in order to have the best visual effect under AO.
Without -trans_max_surfaces (left) With -trans_max_surfaces (right)
If you do not intensely requires the transparent thing to be the surface of some objects, you might drop trans_max_surfaces 1 and get back to Internal Tachyon as it is faster. Also note that:
- Whenever you are not satisfactory with the result, add trans_max_surfaces 1 back.
- QuickSurf still kills you in means of time and disk space.
- EdgyGlass is a good choice for material. GlassBubble also gives funny effects.
![]()
![]()
![]()
EdgyGlass (left) Glass 1 (middle) GlassBubble (without GLSL) (right)
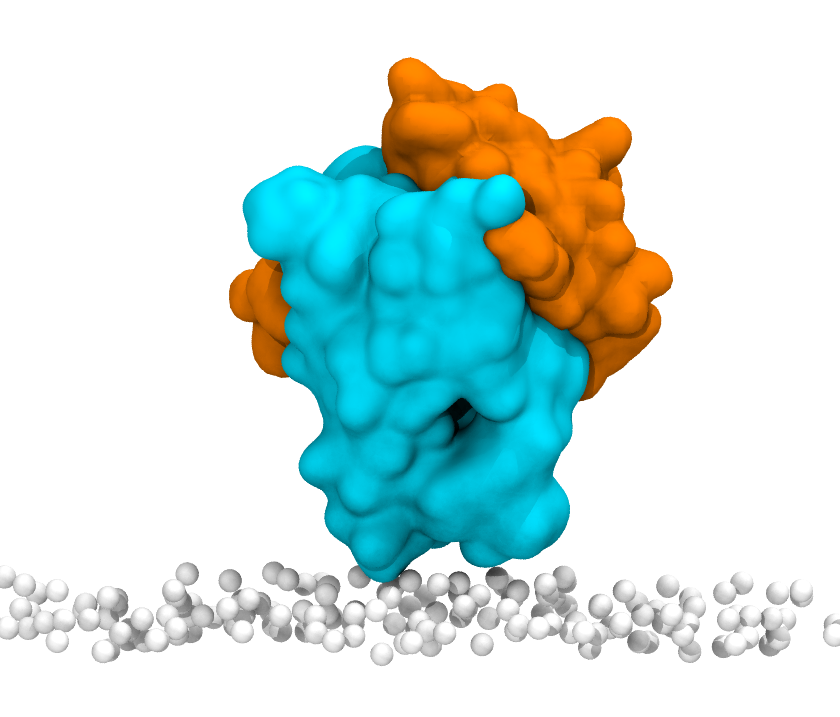
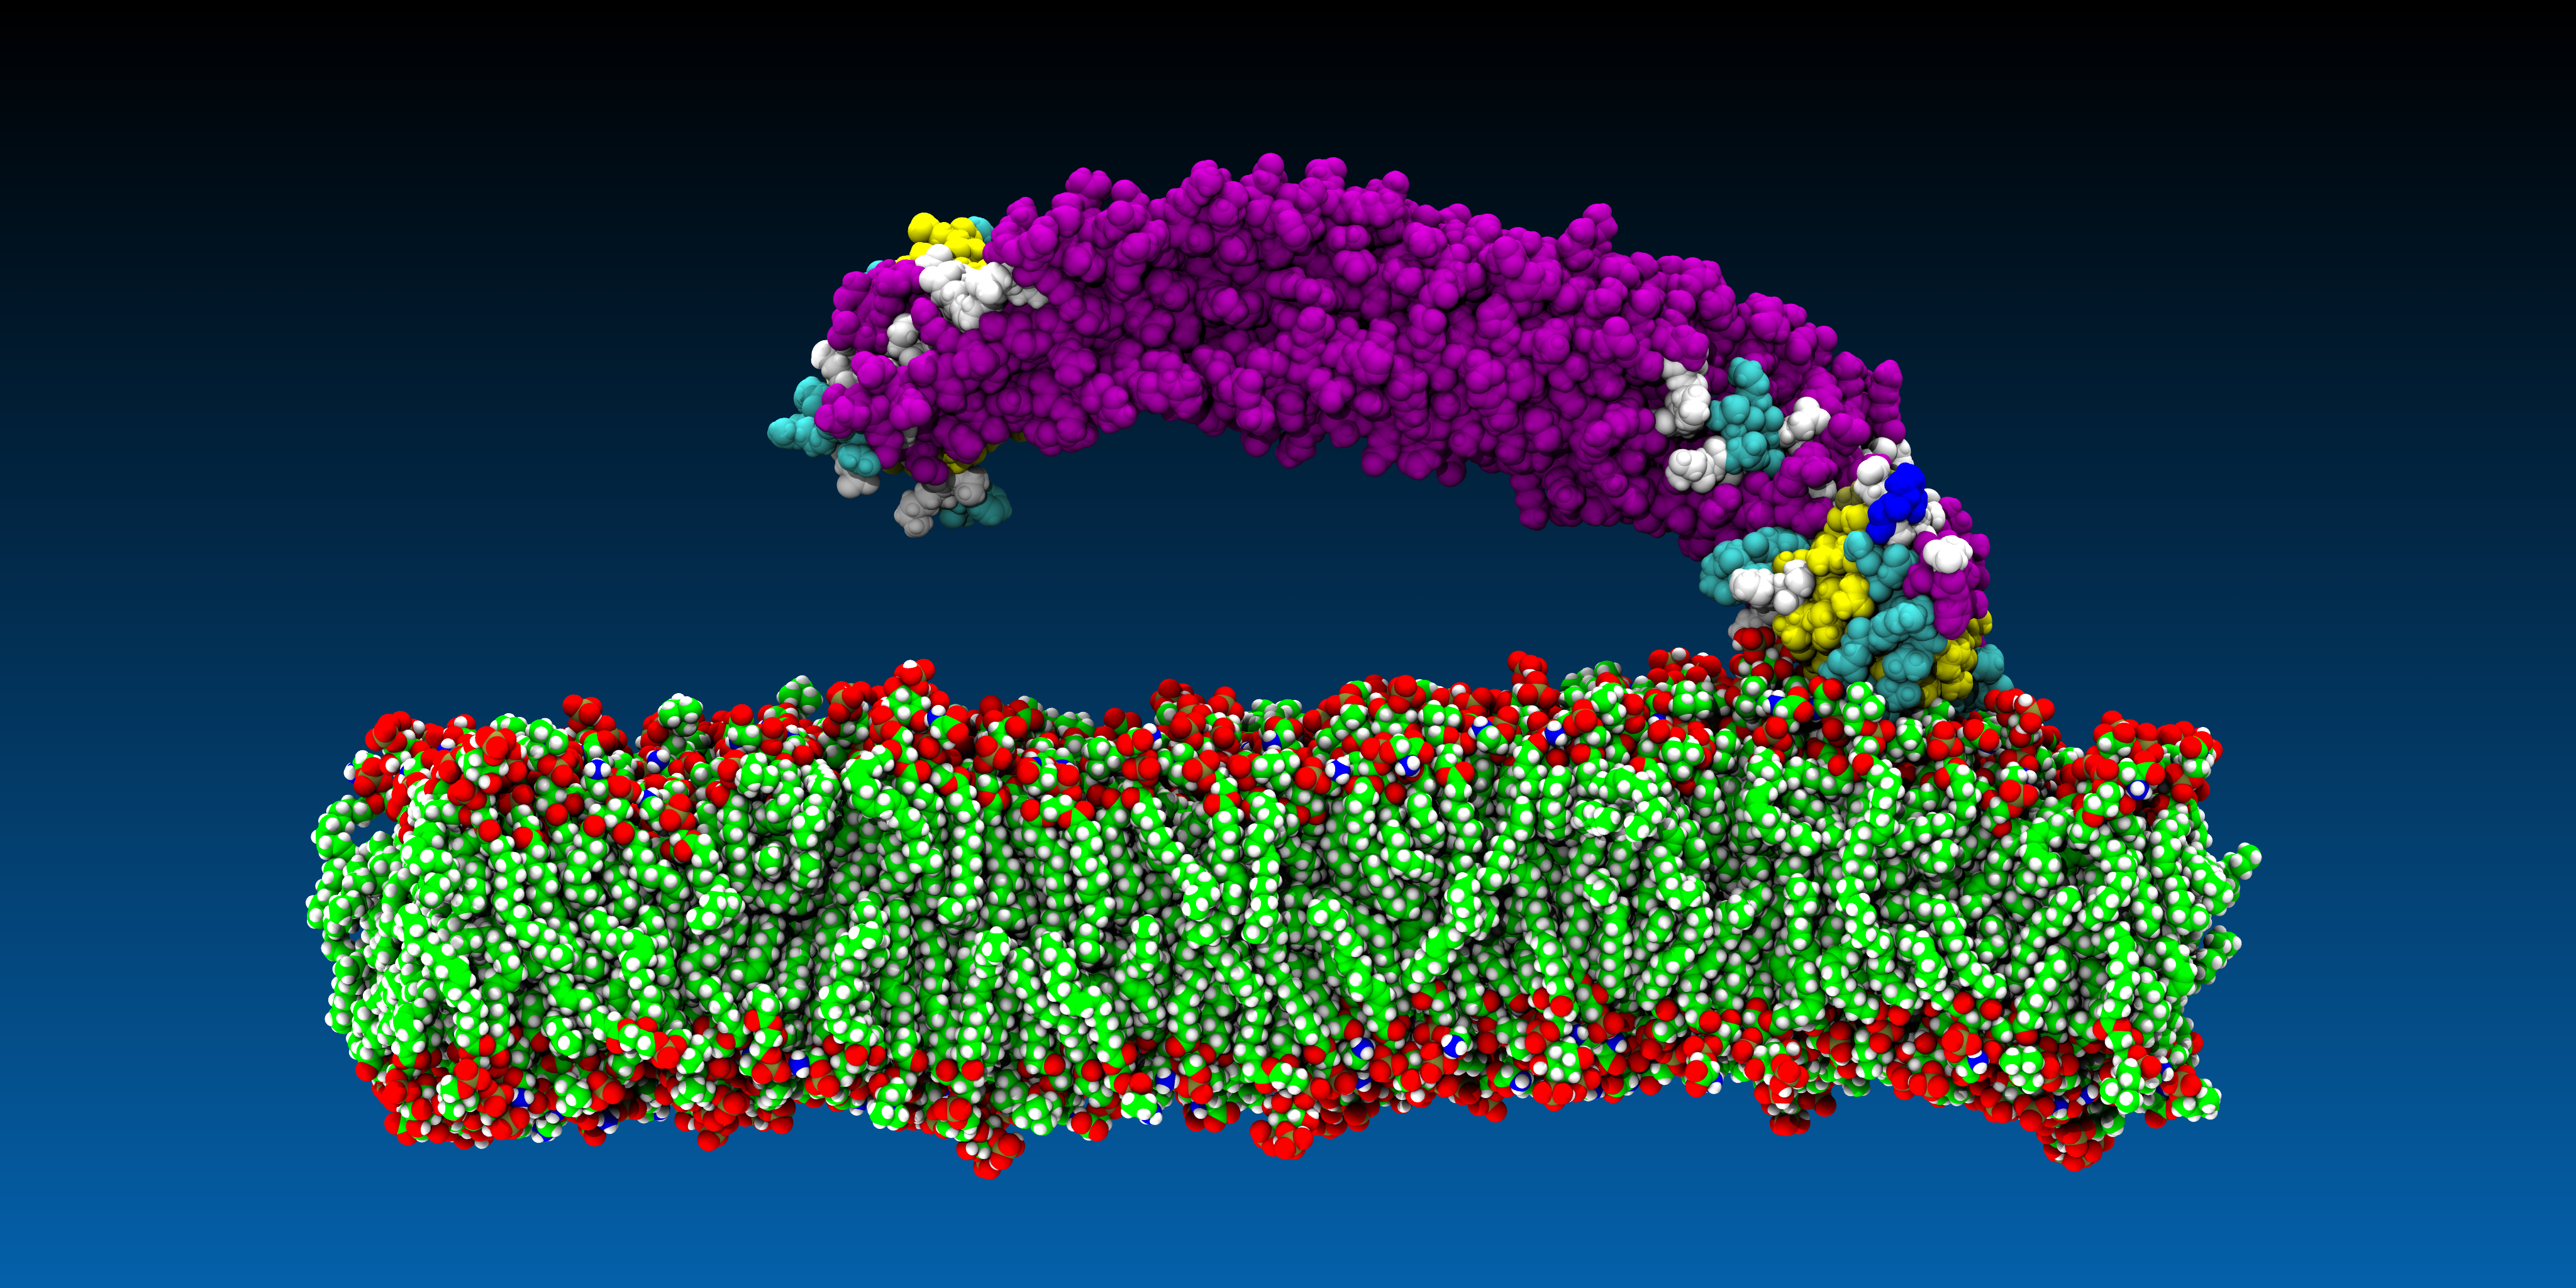
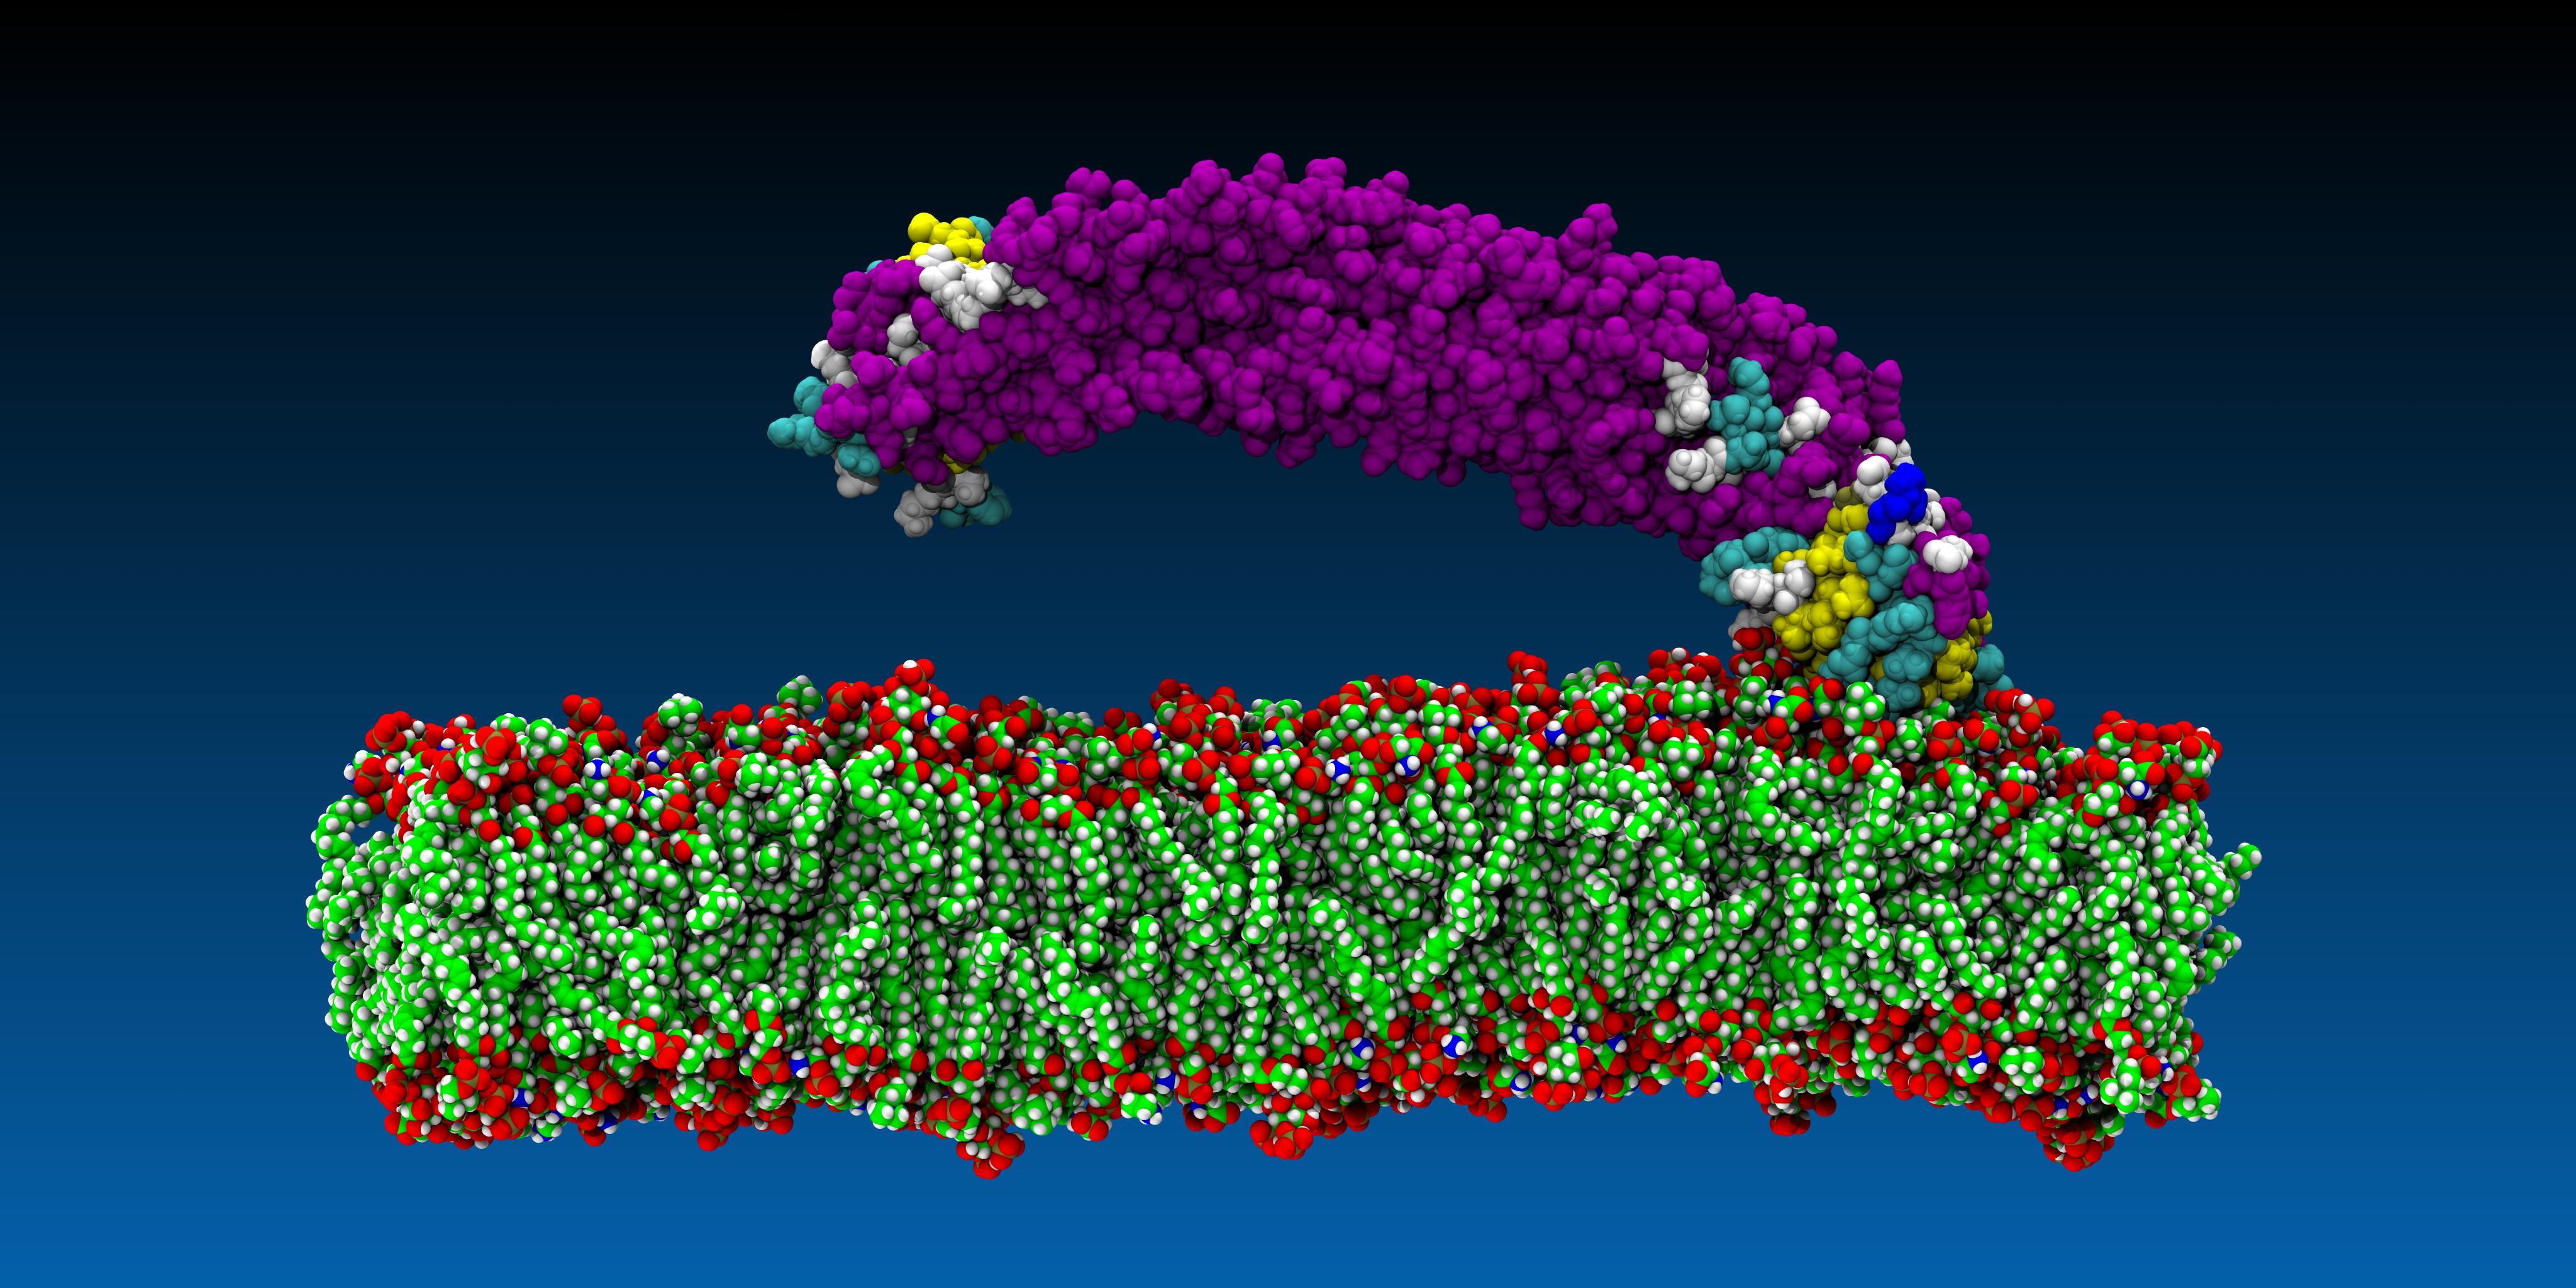
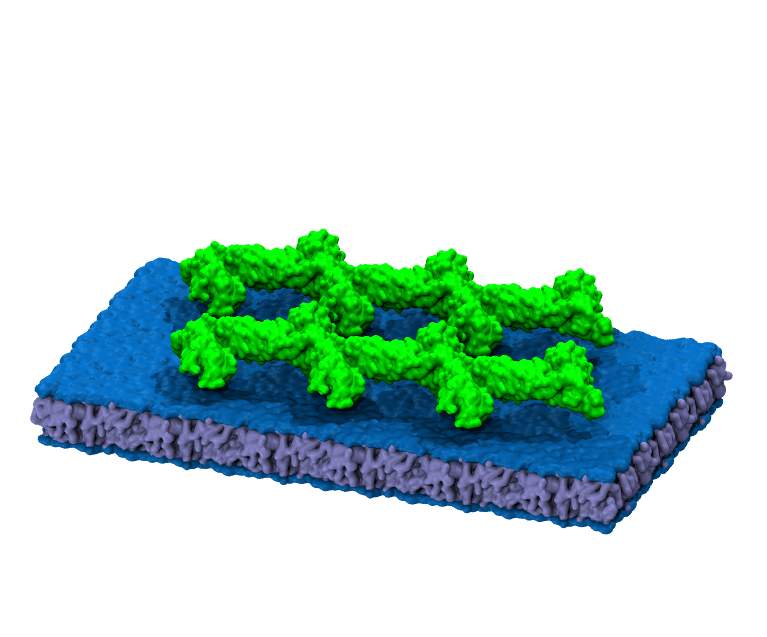
Membranes
Rendering membrane is a tedious artwork. In order to emphasise the head-and-tail conformation of lipids, we usually colour two layers of membrane differently. An easy to do this is to keep a layer of water on the membrane surface so they can be easily separated by water and not water selections. To further reduce the size of your system (in order to avoid crash of VMD), I only wrote element C of the lipids. So here are the two selections:
- segname O4 O6 O8 and element C
- water within 3 of segname O4 O6 O8
Also, this two vectors help you to duplicate the lipids in the x-y direction:
- {240 0 0}
- {0 -80 0}
You will find this command very very useful when duplicating membranes:
- set mol3 [::TopoTools::selections2mol “$sel1 $sel2”]
- Or you might make use of the MergeStructs Plugin, Link
Also note the following representation configurations:
- Material: AOShiny
- Color: Blue2 for water, Iceblue for not water, green for protein
- QuickSurface: Radius Scale: 1.5 for water, 1.0 for not water, 1.0 for protein
- QuickSurface: Surface Quality: Max for all
- AO: 0.6 0.4
Protein-membrane complex
As you might have to render a number of such protein-membrane systems for presenting your simulation setups, here are some very standard steps:
- Prepare your preferred angle of view
- Representations > Change materials to AOs
- Display > Display Settings > Turn on AO effects
- Turn off Light 4 and Light 3/2
- Tachyon Render in Memory. Done!